Greengrass V2のAWS提供コンポーネントにセキュアトンネルのものが追加されていましたので、試してみました。
セキュアトンネルってなに?は、このあたりが詳しいと思います。
Greengrassのセキュアトンネルコンポーネントを使うと、上図のSource側の0. Localproxy アプリケーションをinstallしておくの部分をやってくれると思えばよいかと思います。
環境
| 対象 | 環境 |
|---|---|
| 接続先 | Raspberry Pi 4 Raspberry Pi OS Lite(2021-01-11) Greengrass : v2.0.5 |
| 接続元 | Windows 10 Pro上のDockerコンテナ |
事前設定
接続先の環境設定
Greengrassのインストール
公式サイトのQuick installationやこのあたりを参考にインストールします。
セキュアトンネルコンポーネントのデプロイ
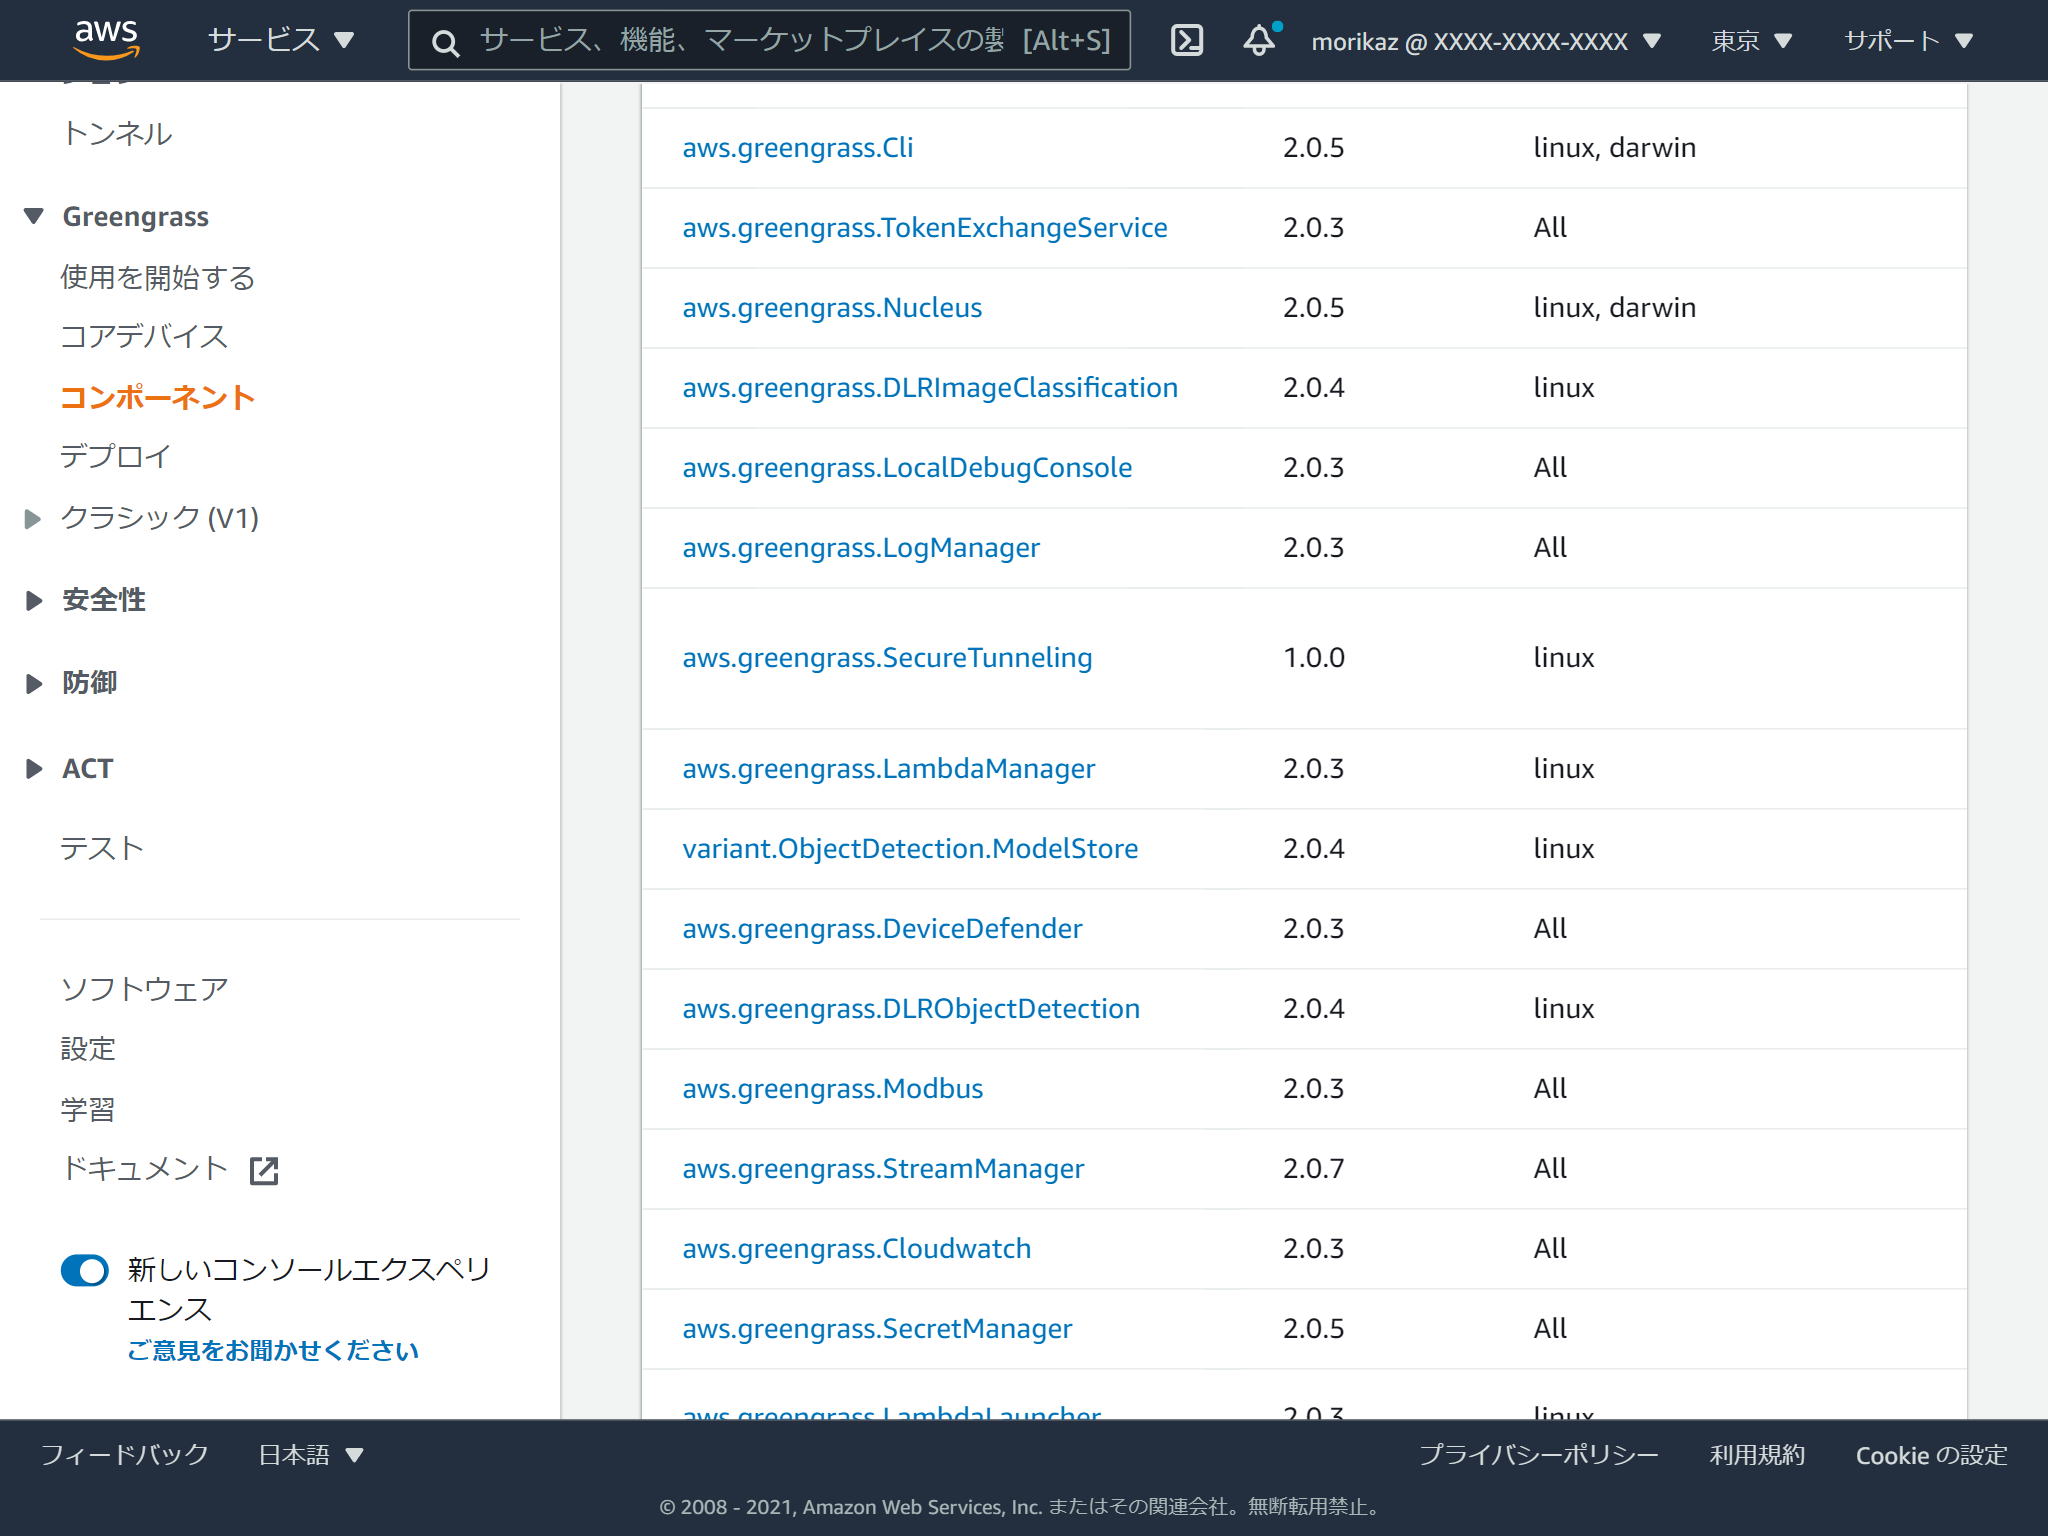
Greengrassメニューのコンポーネントを開きます。
パブリックコンポーネントの中にaws.greengrass.SecureTunnelingがあります。
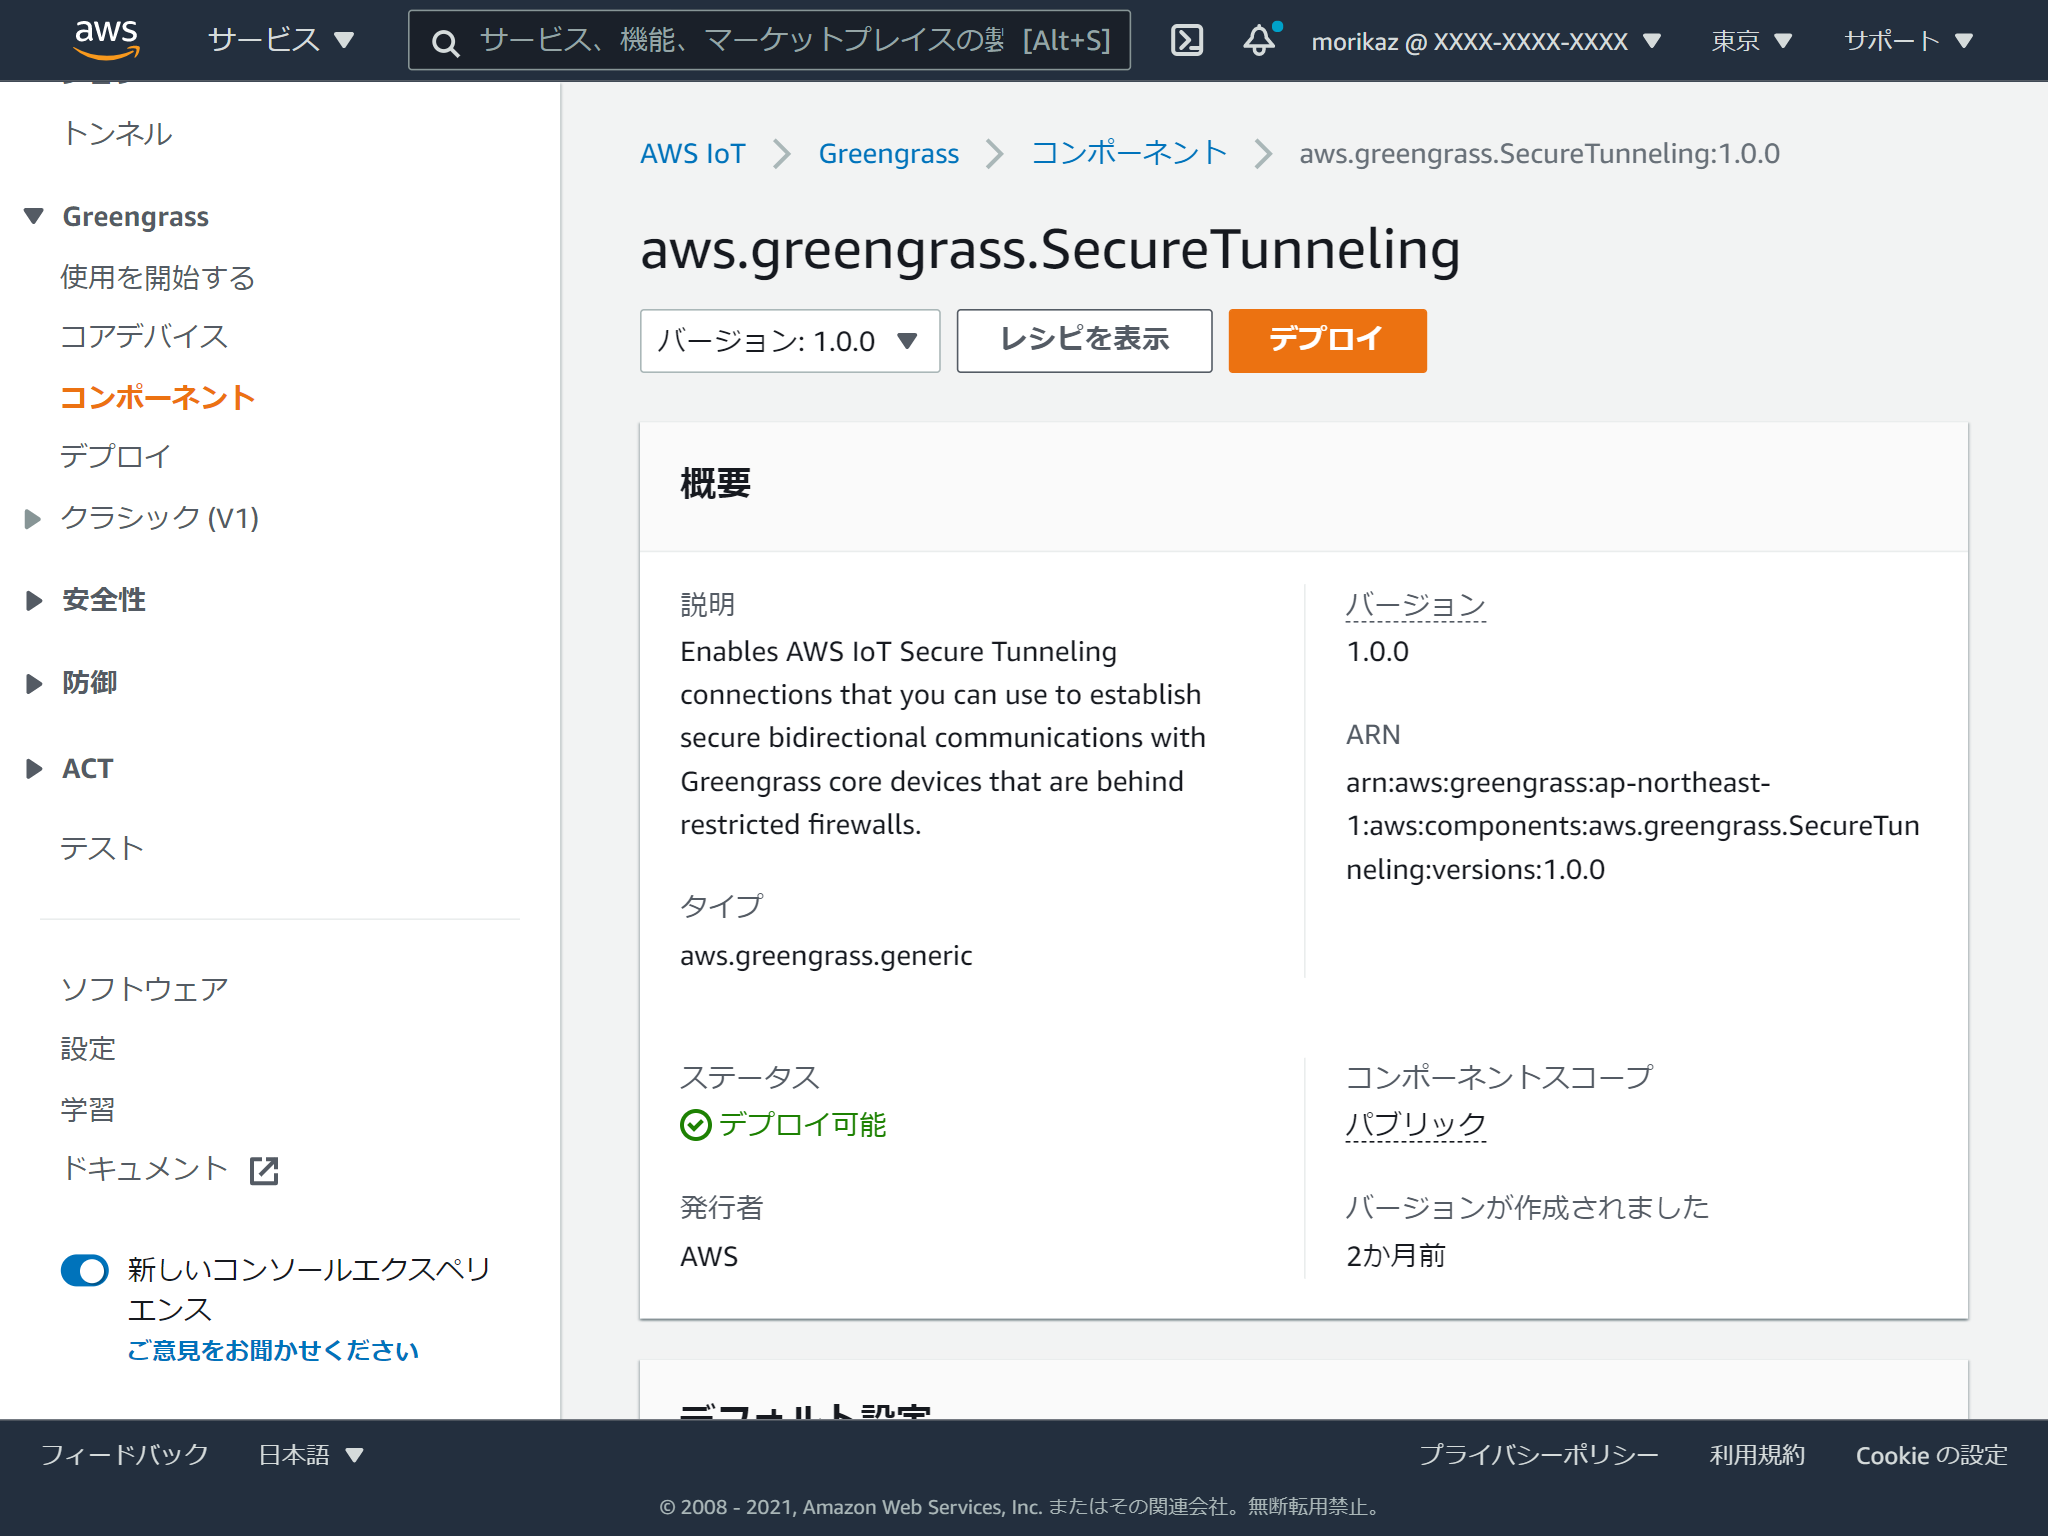
詳細情報はこんな感じ。 デプロイボタンをクリックします。
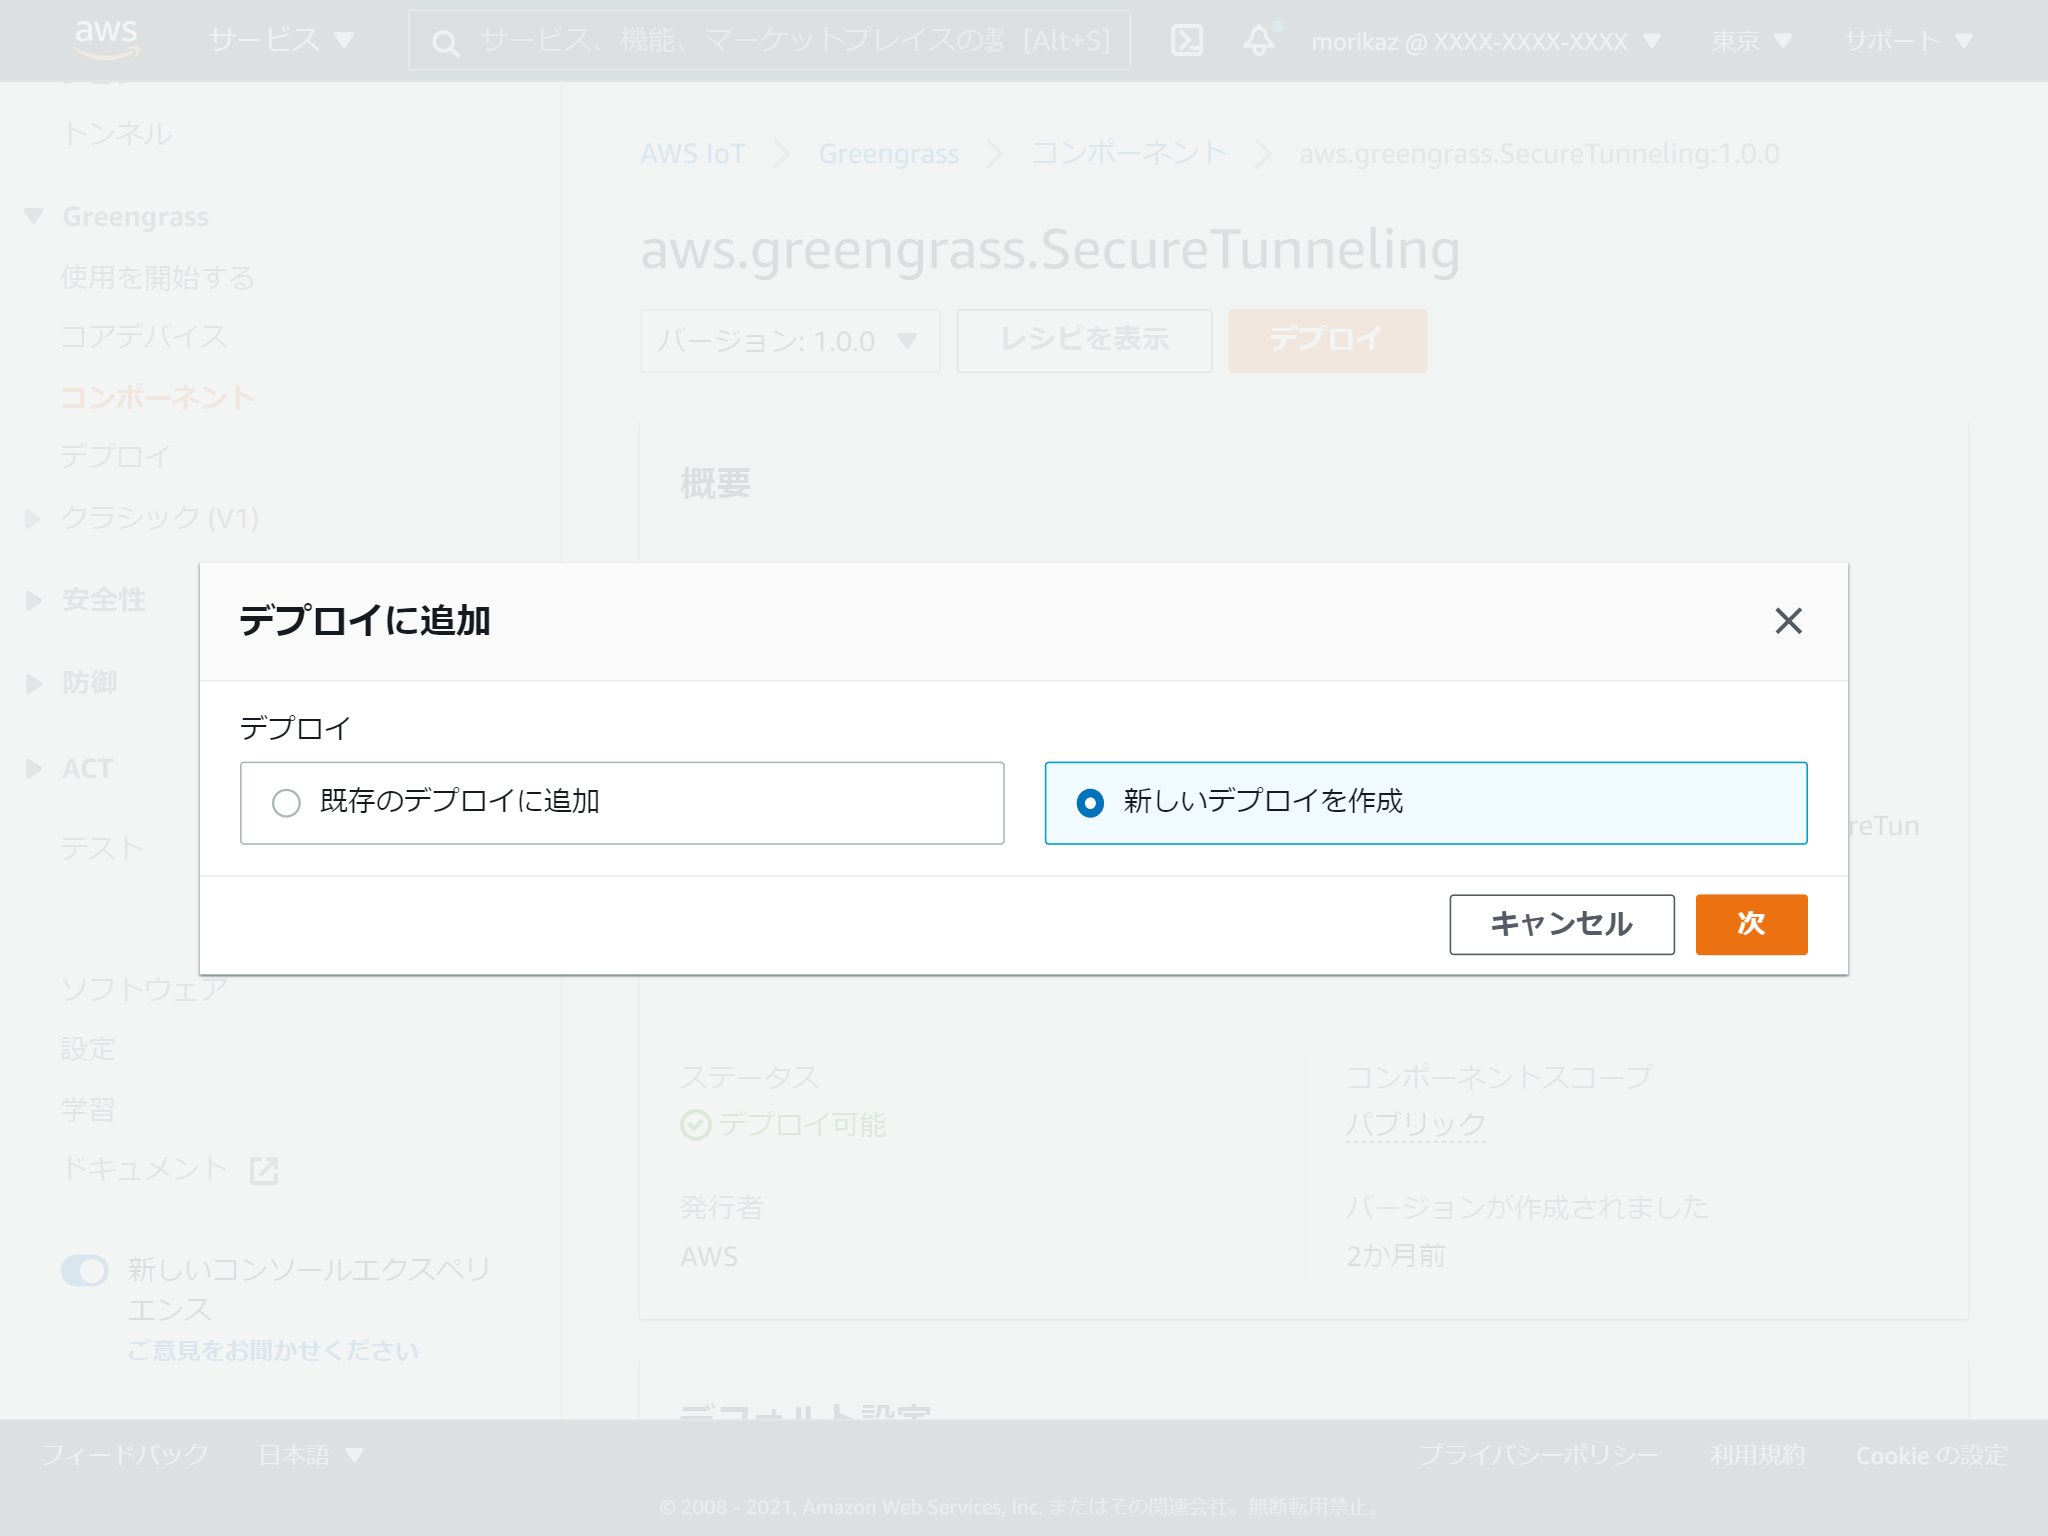
新しいデプロイを作成します。
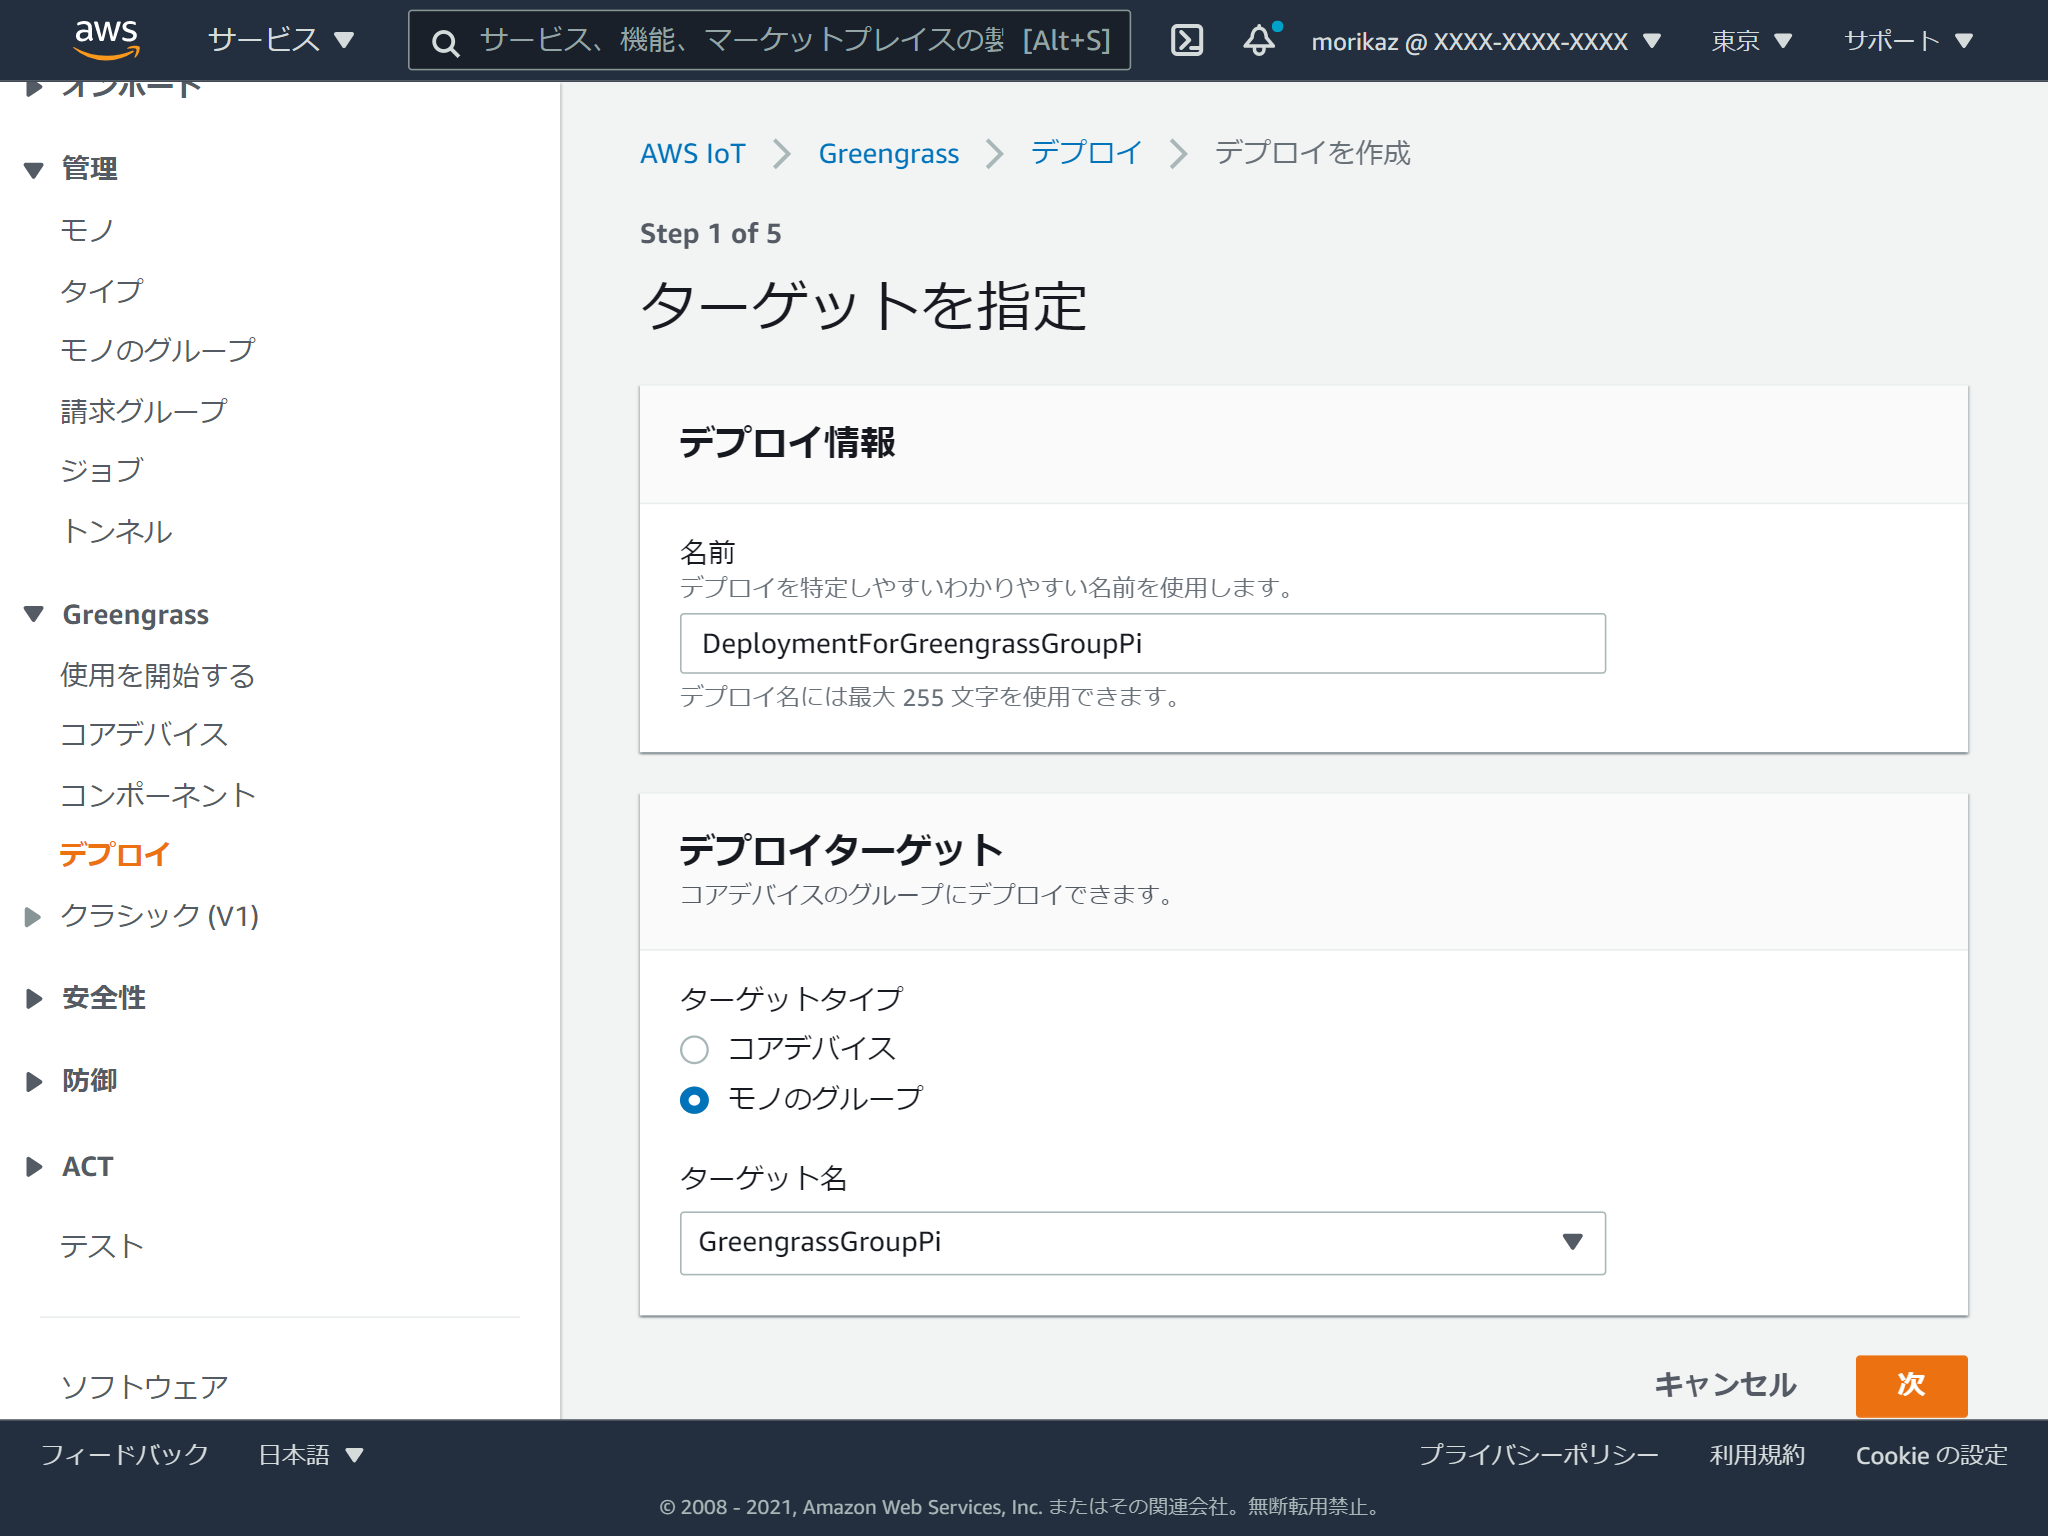
名前つけて、デプロイターゲットを指定します。
デプロするコンポーネントとして、パブリックコンポーネントの中の「aws.greengrass.SecureTunneling」を選択します。
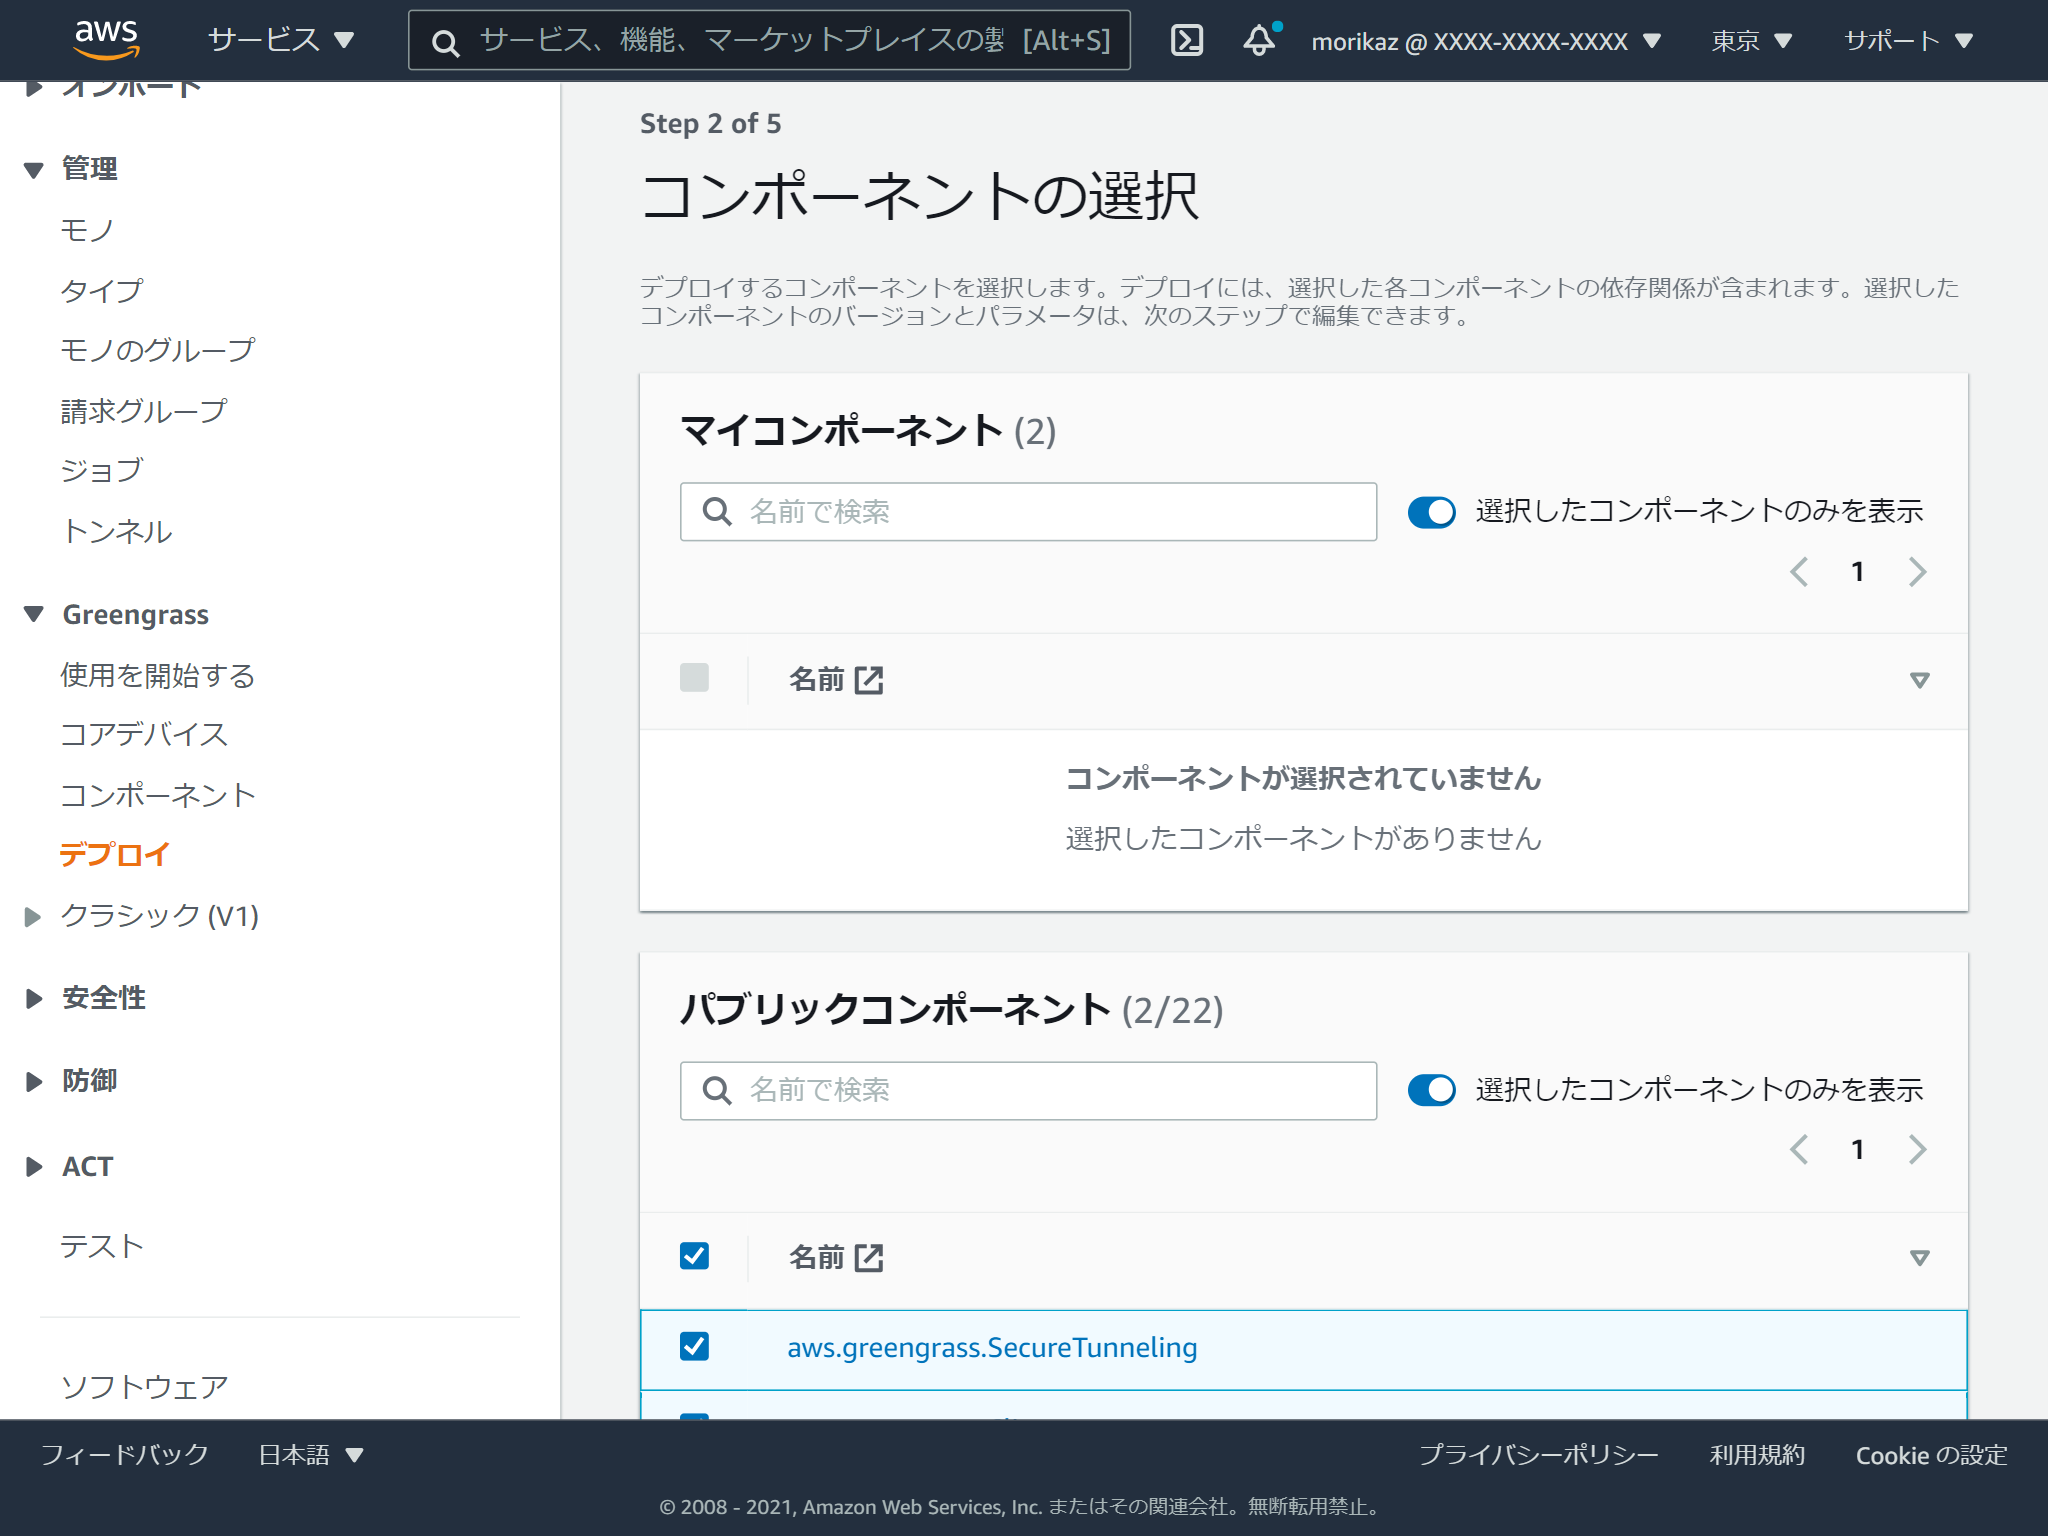
コンポーネントの設定は特に特に指定しませんでした。
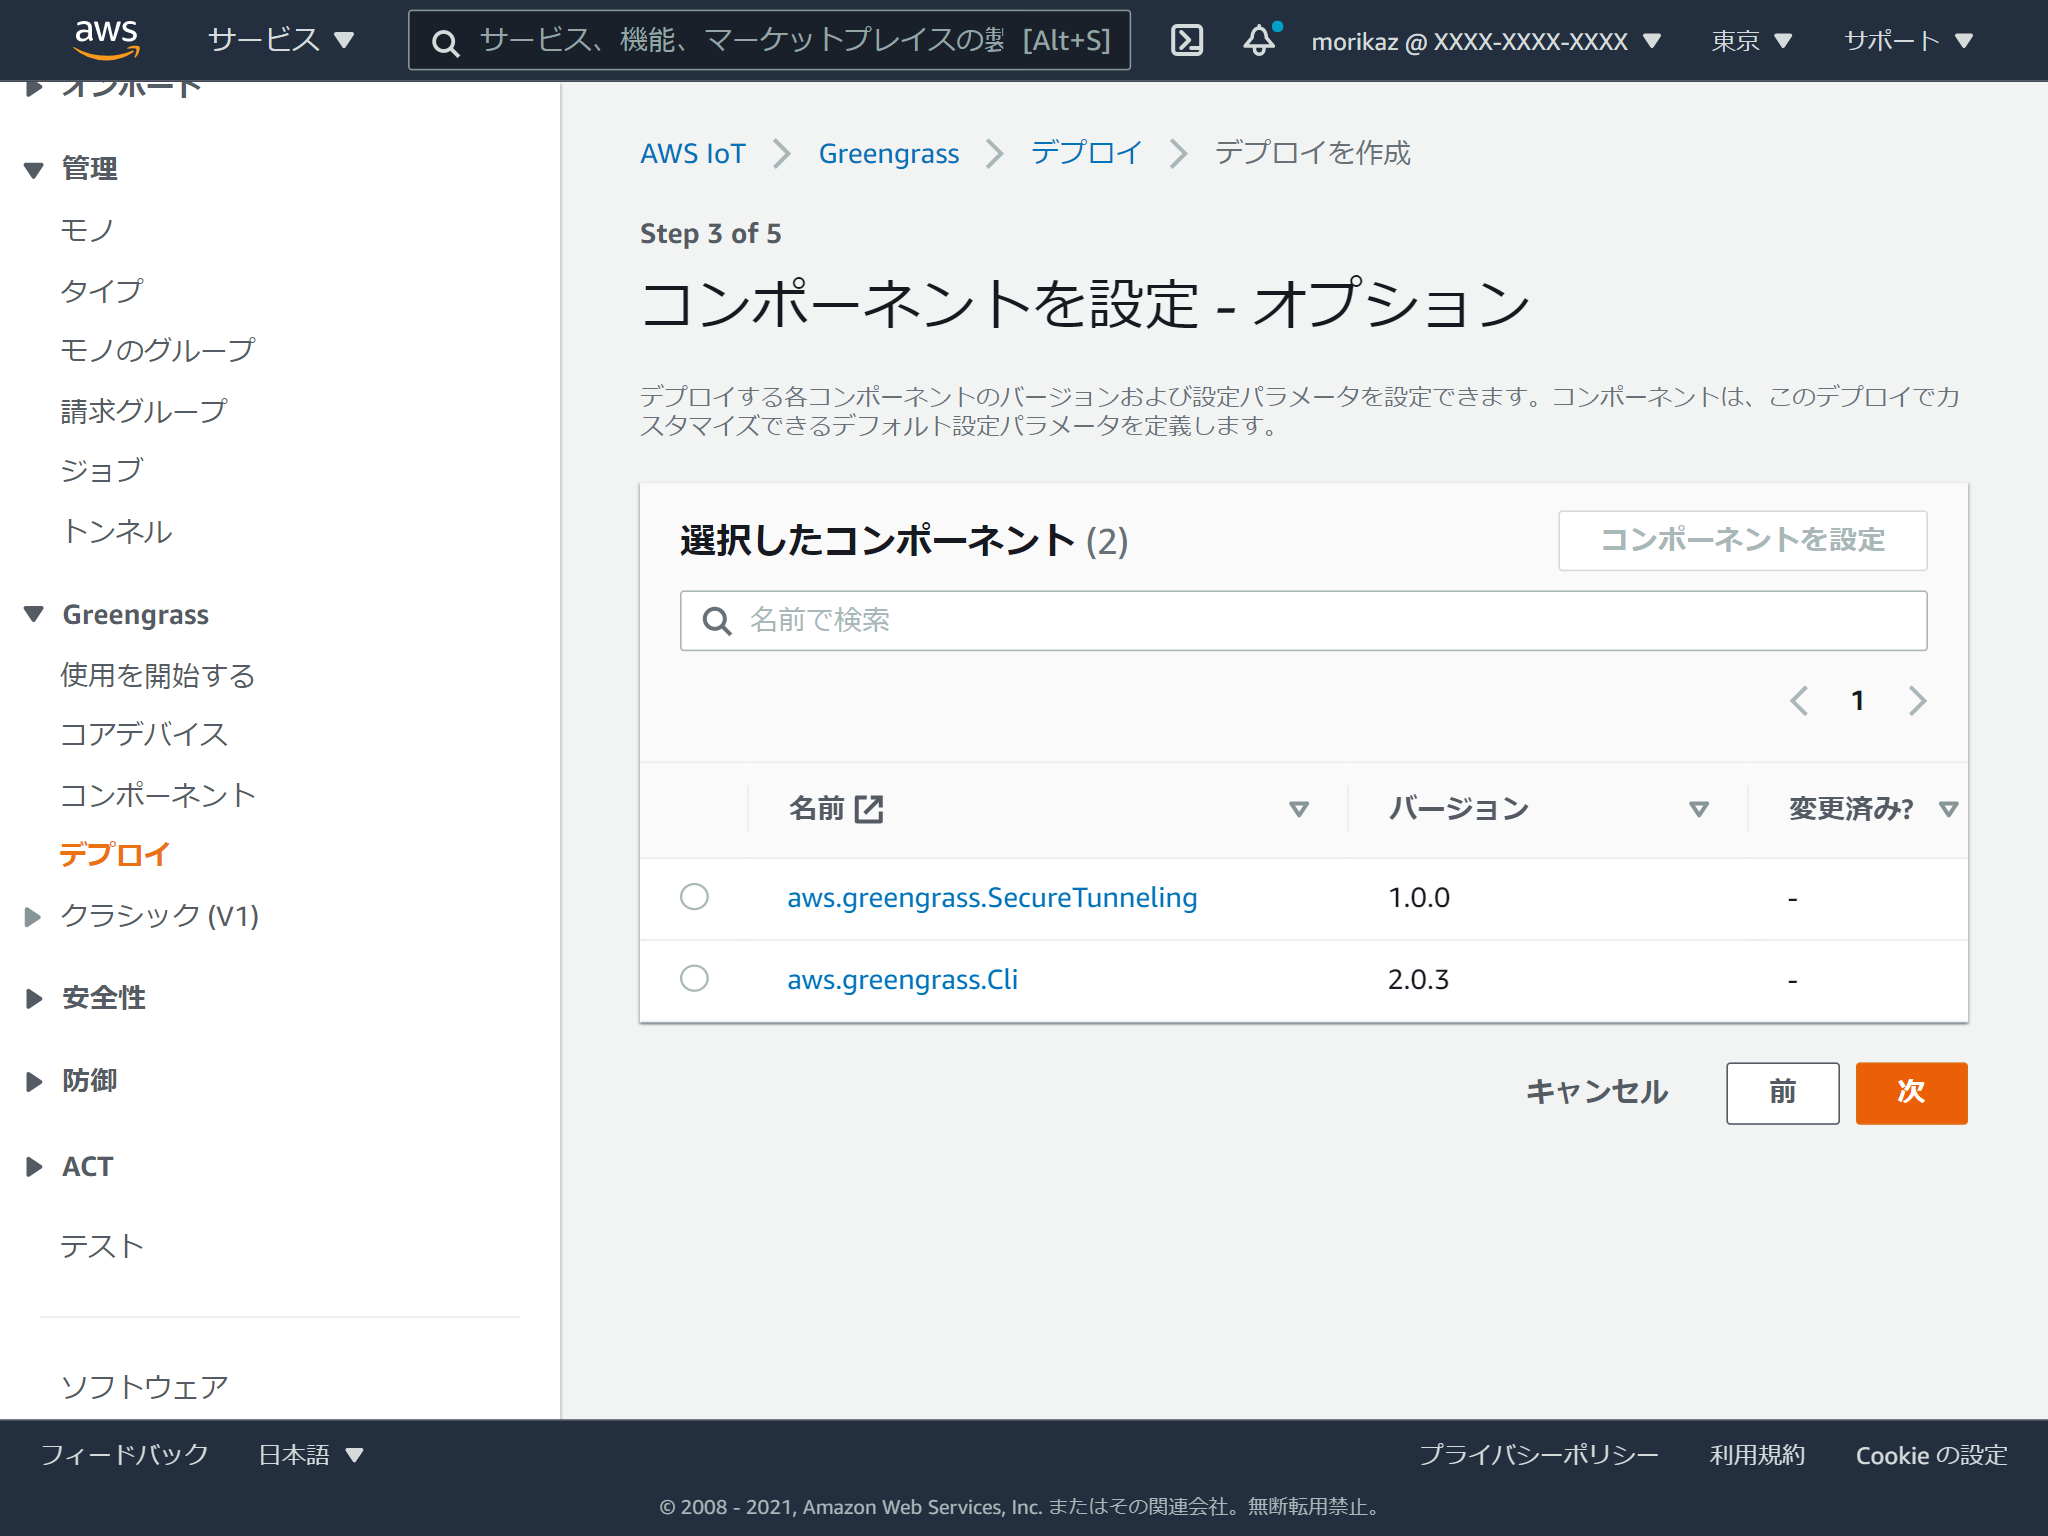
デプロイの詳細設定も指定しませんでした。
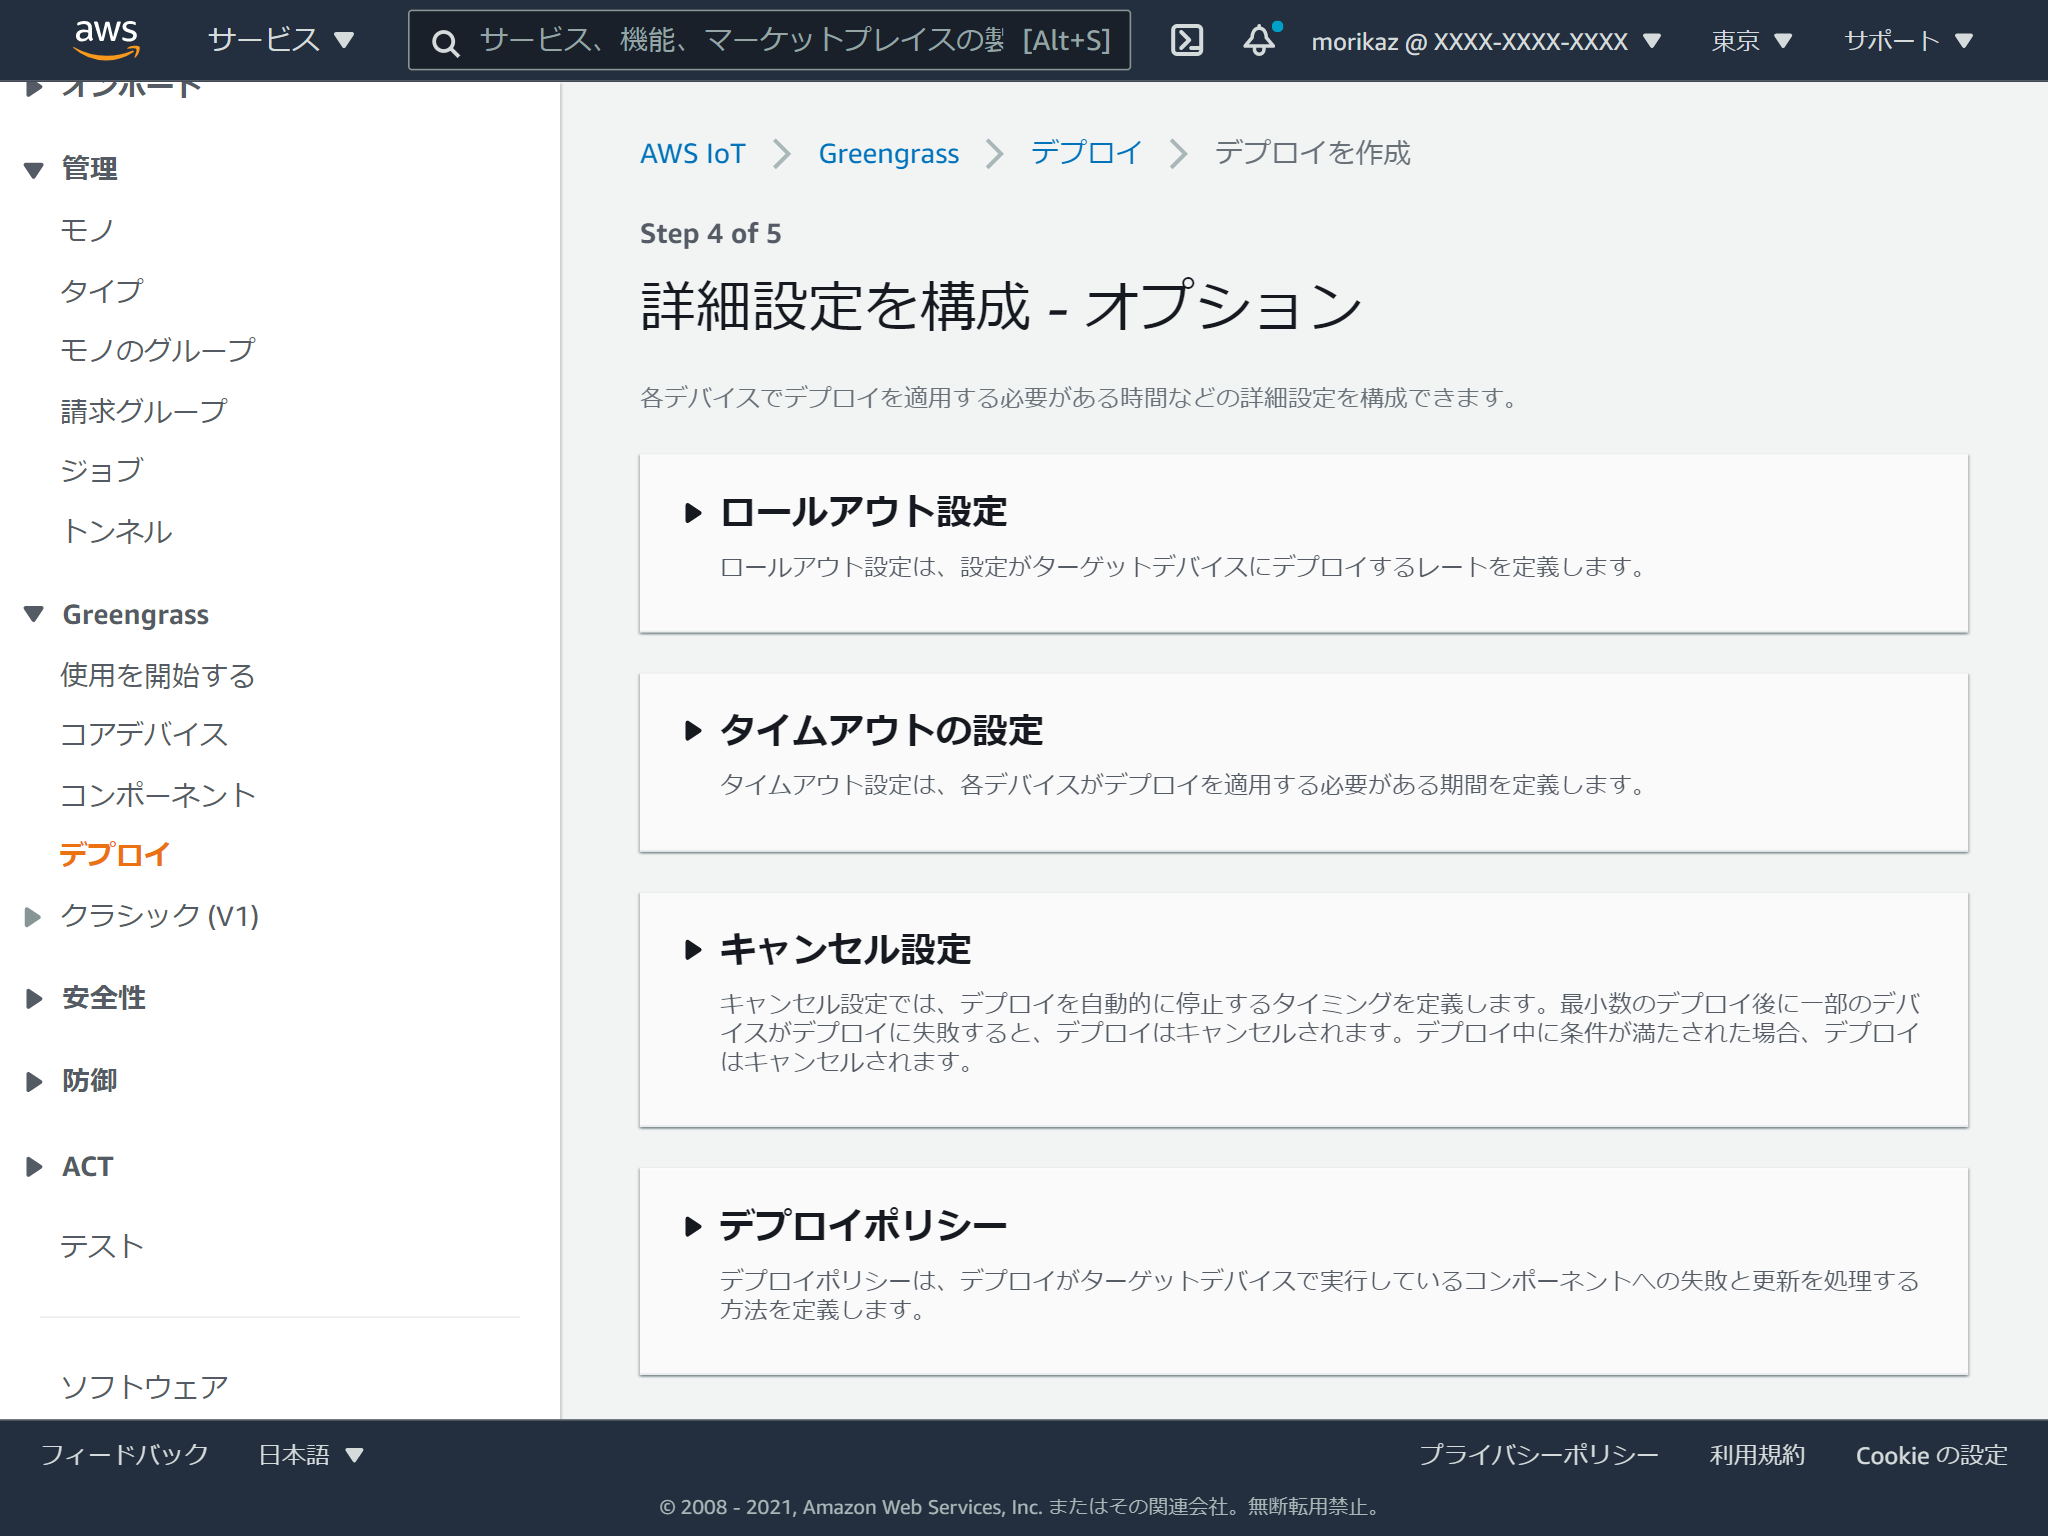
確認をして問題なければ、デプロイを開始します。
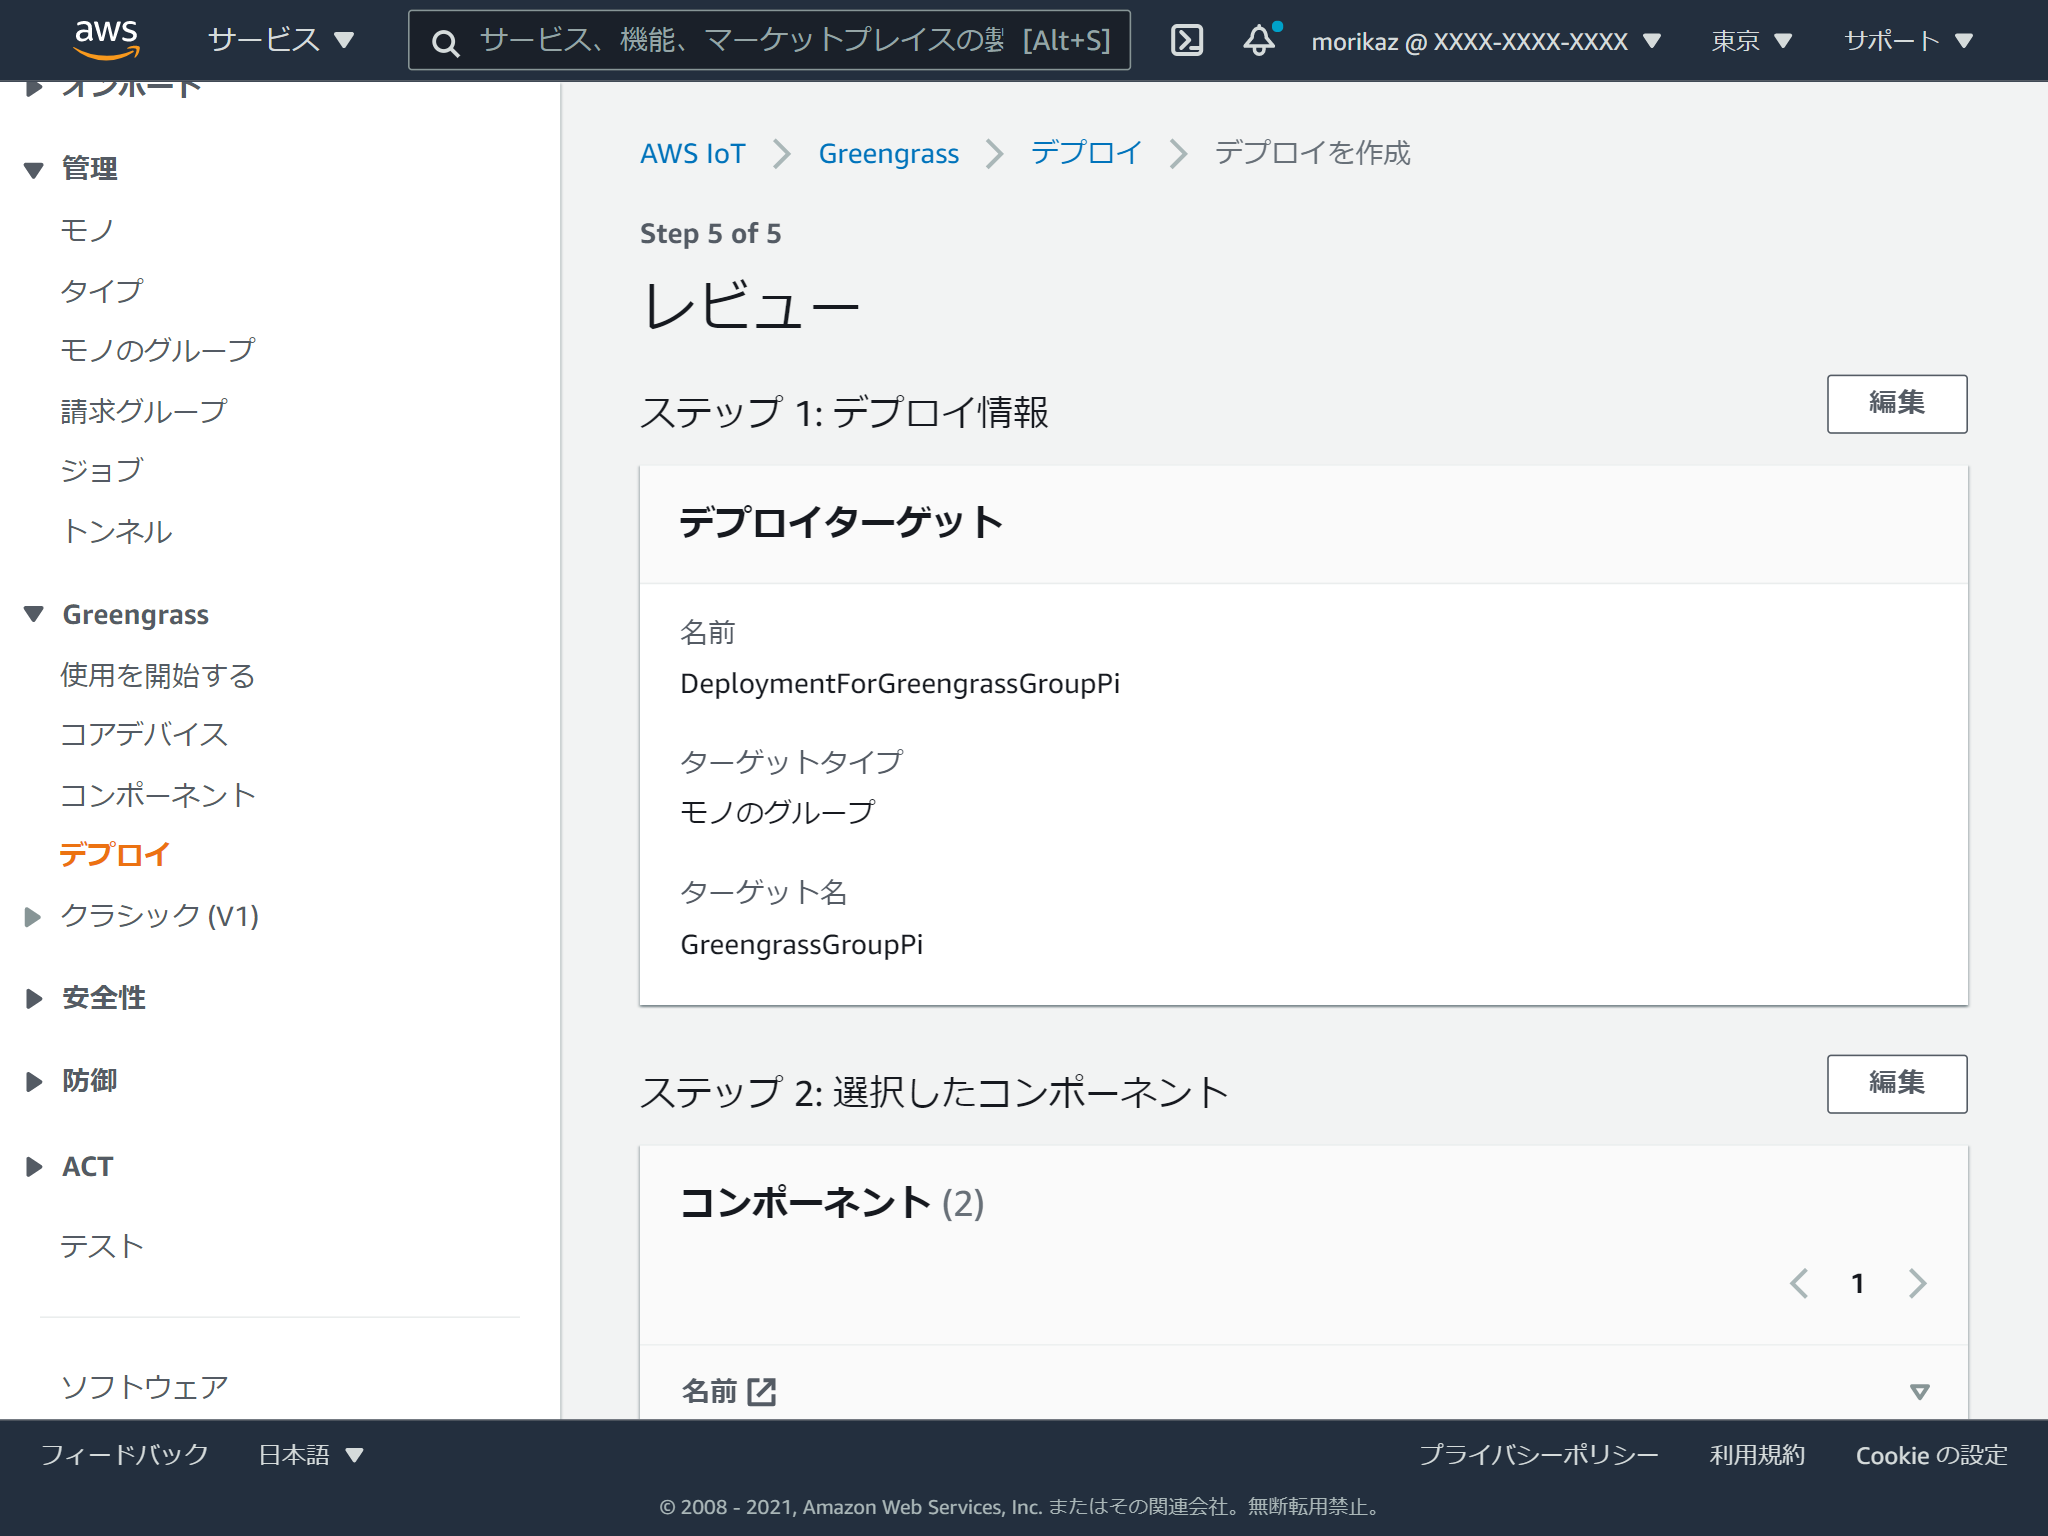
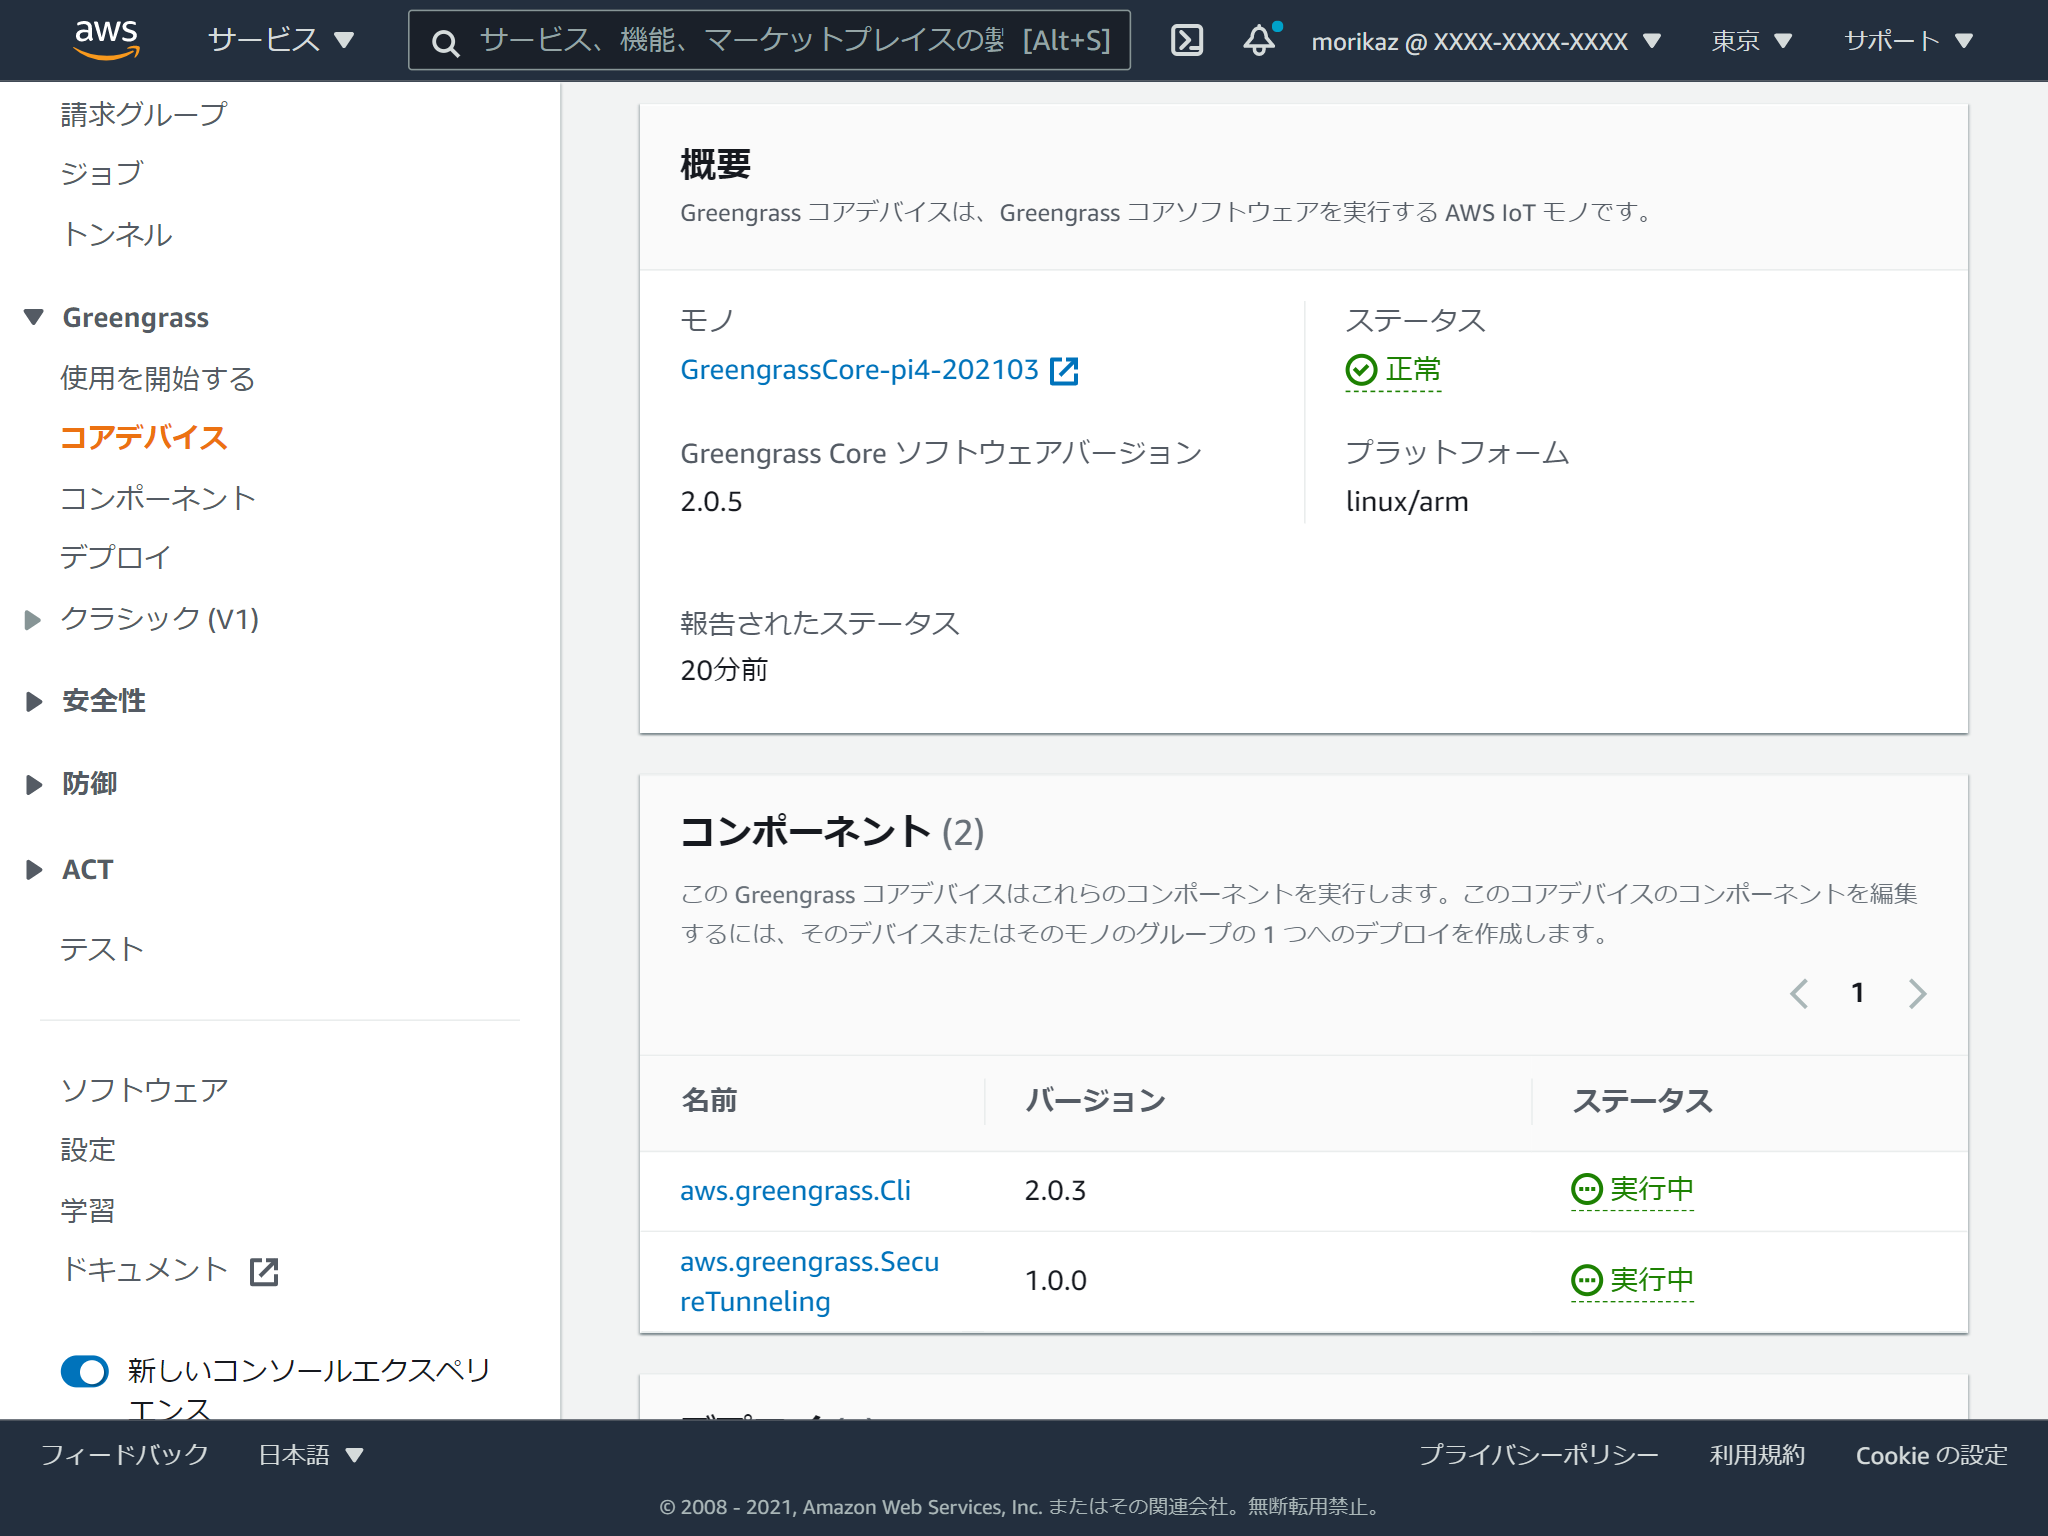
しばらくするとデプロイされていることが確認できます。
接続元の環境設定
localproxyのビルド
接続元にlocalproxyというモジュールが必要です。localproxyはGitHubで公開されており、Dockerfileも提供されているので簡単にビルドができます。
https://github.com/aws-samples/aws-iot-securetunneling-localproxy
git clone https://github.com/aws-samples/aws-iot-securetunneling-localproxy
cd aws-iot-securetunneling-localproxy
docker build -t aws-iot-securetunneling-localproxy:latest .
環境によるとは思いますが、私の環境では完了するまでに50分ぐらいかかりました。
セキュアトンネルの開始
セキュアトンネルの作成
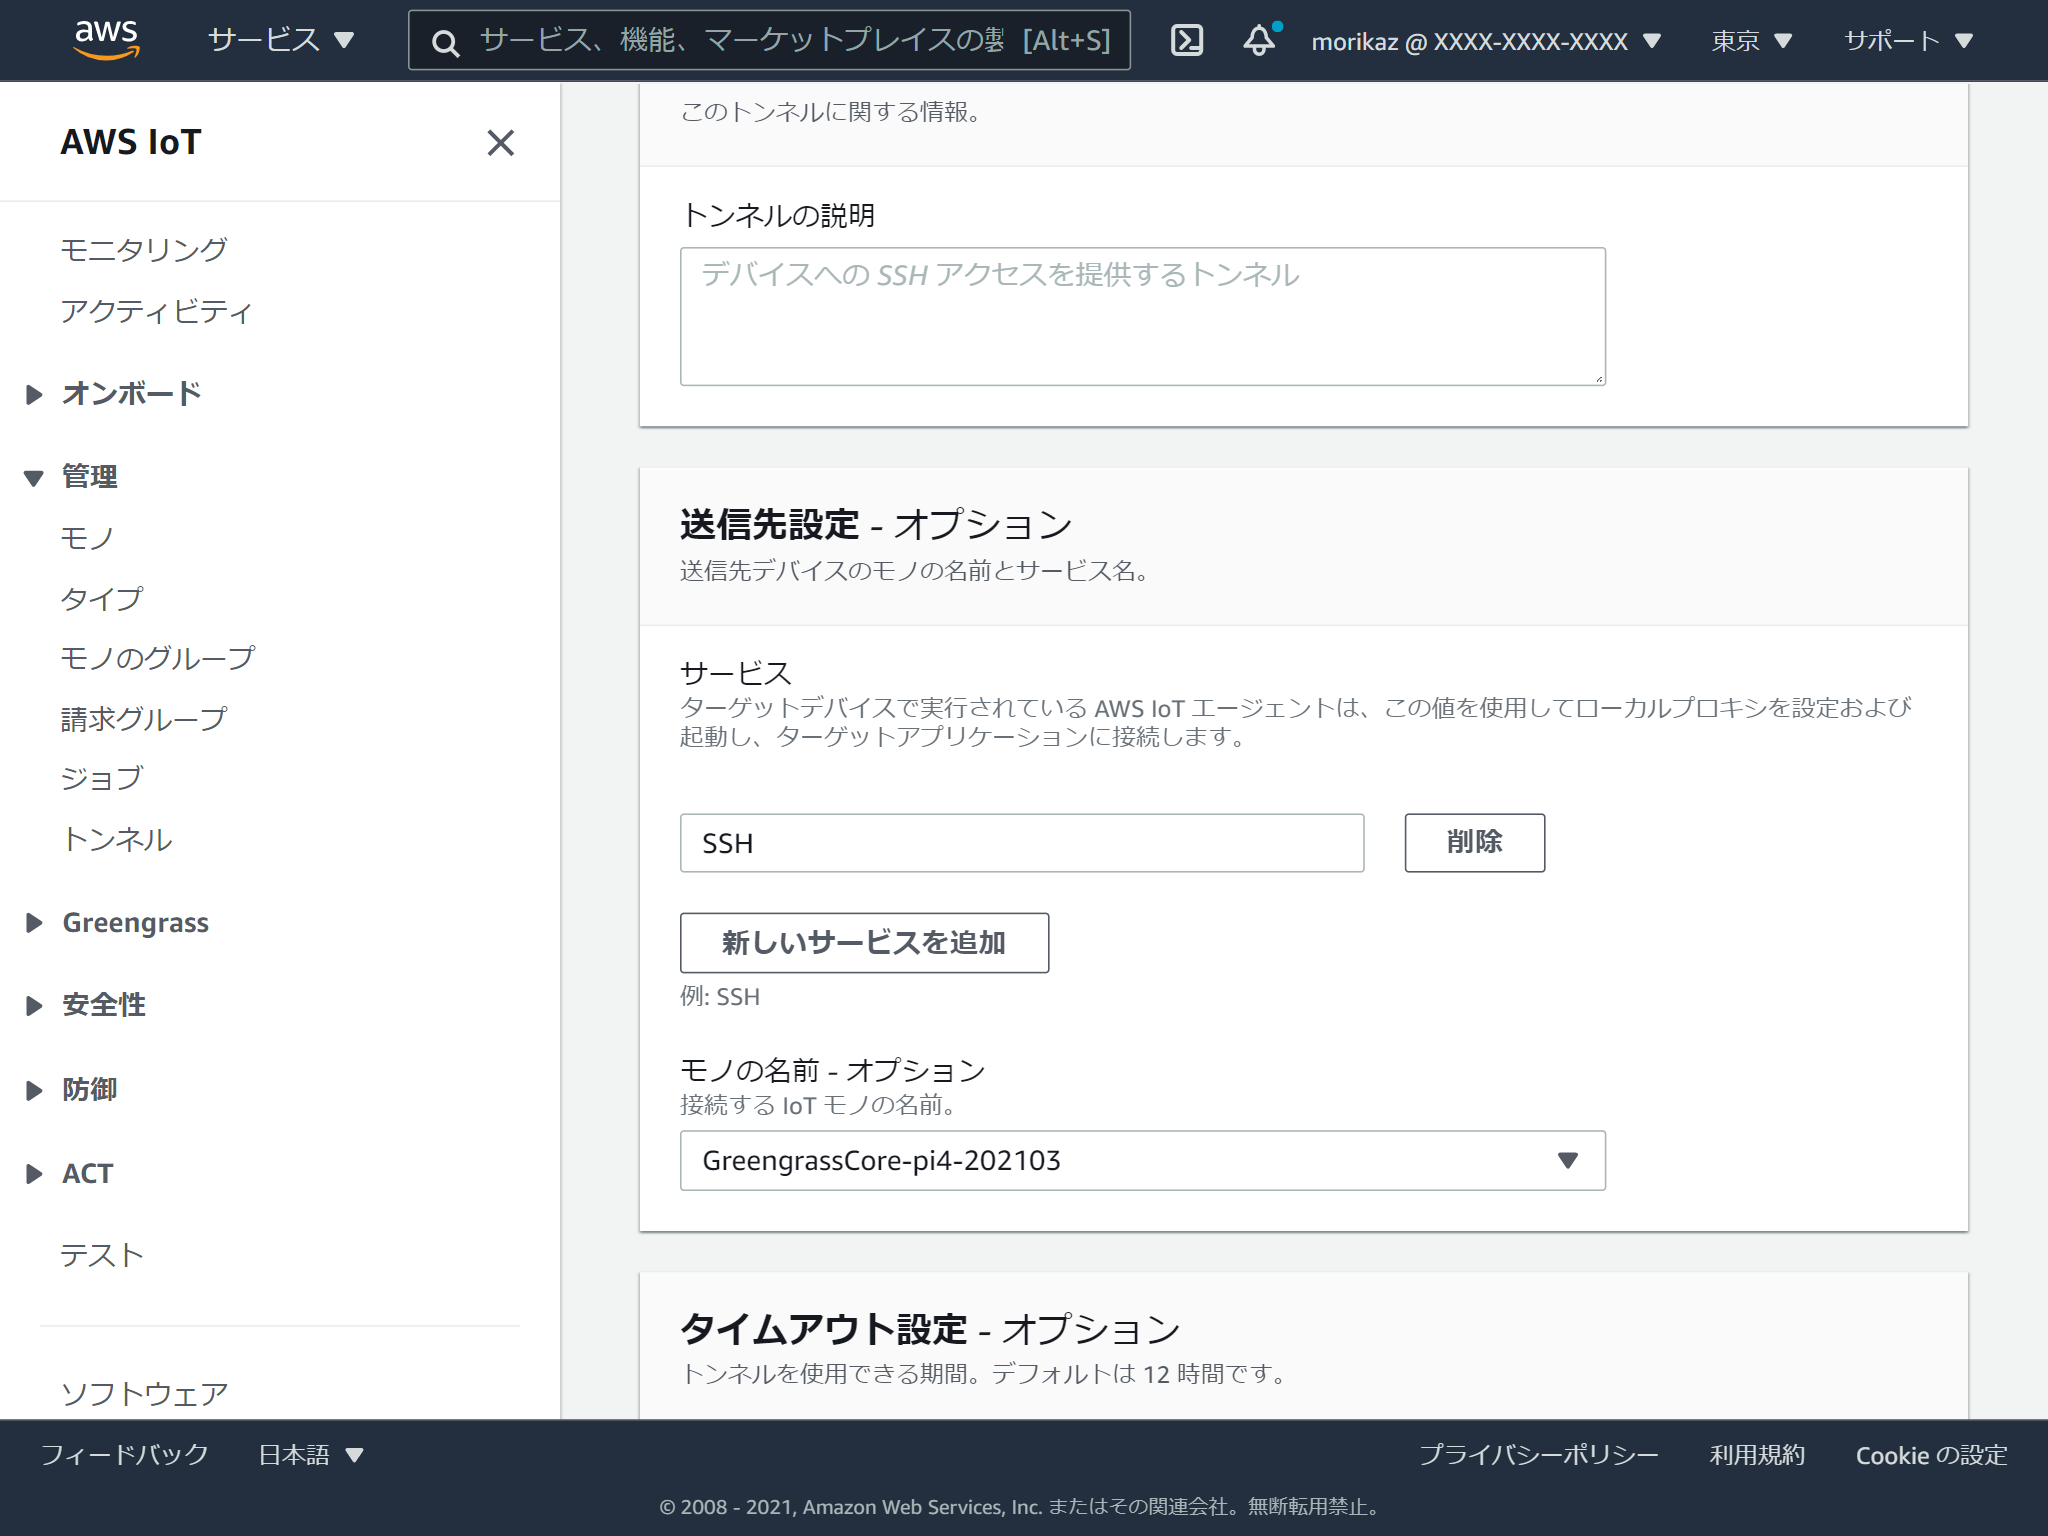
マネジメントコンソールに戻り、左の管理メニュー内のトンネルを選択します。

サービスにSSH、モノの名前でGreengrassを選択します。(大文字じゃないとだめかも?未確認)
キャプチャを取り忘れましたが、次の画面でアクセストークンのファイルが2つダウンロードできます。このタイミングでしか入手できませんので忘れずダウンロードしてください。
セキュアトンネルの開始(接続先)
接続先のセキュアトンネルを開始します。
$aws/things/thing-name/tunnels/notifyに以下のメッセージをパブリッシュします。
※thing-nameは実際のモノの名前にします。
{
    "clientAccessToken": "destination-client-access-token", // ←先程入手したdestinationAccessToken.txtの内容
    "clientMode": "destination", // 固定と思われる
    "region": "ap-northeast-1", // AWSリージョン
    "services": ["SSH"] // 開始するサービス
}
セキュアトンネルの開始(接続元)
先程作成したlocalproxyイメージを起動して、bashシェルにアタッチします。
docker run --name localproxy --rm -it aws-iot-securetunneling-localproxy:latest bashあとで使うので、SSHクライアントをこのタイミングで導入しておきます。
apt update && apt install -y openssh-clientlocalproxyを起動します。フォアグラウンドで起動し続けるので&をつけて実行します。
./localproxy -r ap-northeast-1 -s 5555 -t [先程入手したsourceAccessToken.txtの内容] & 確認
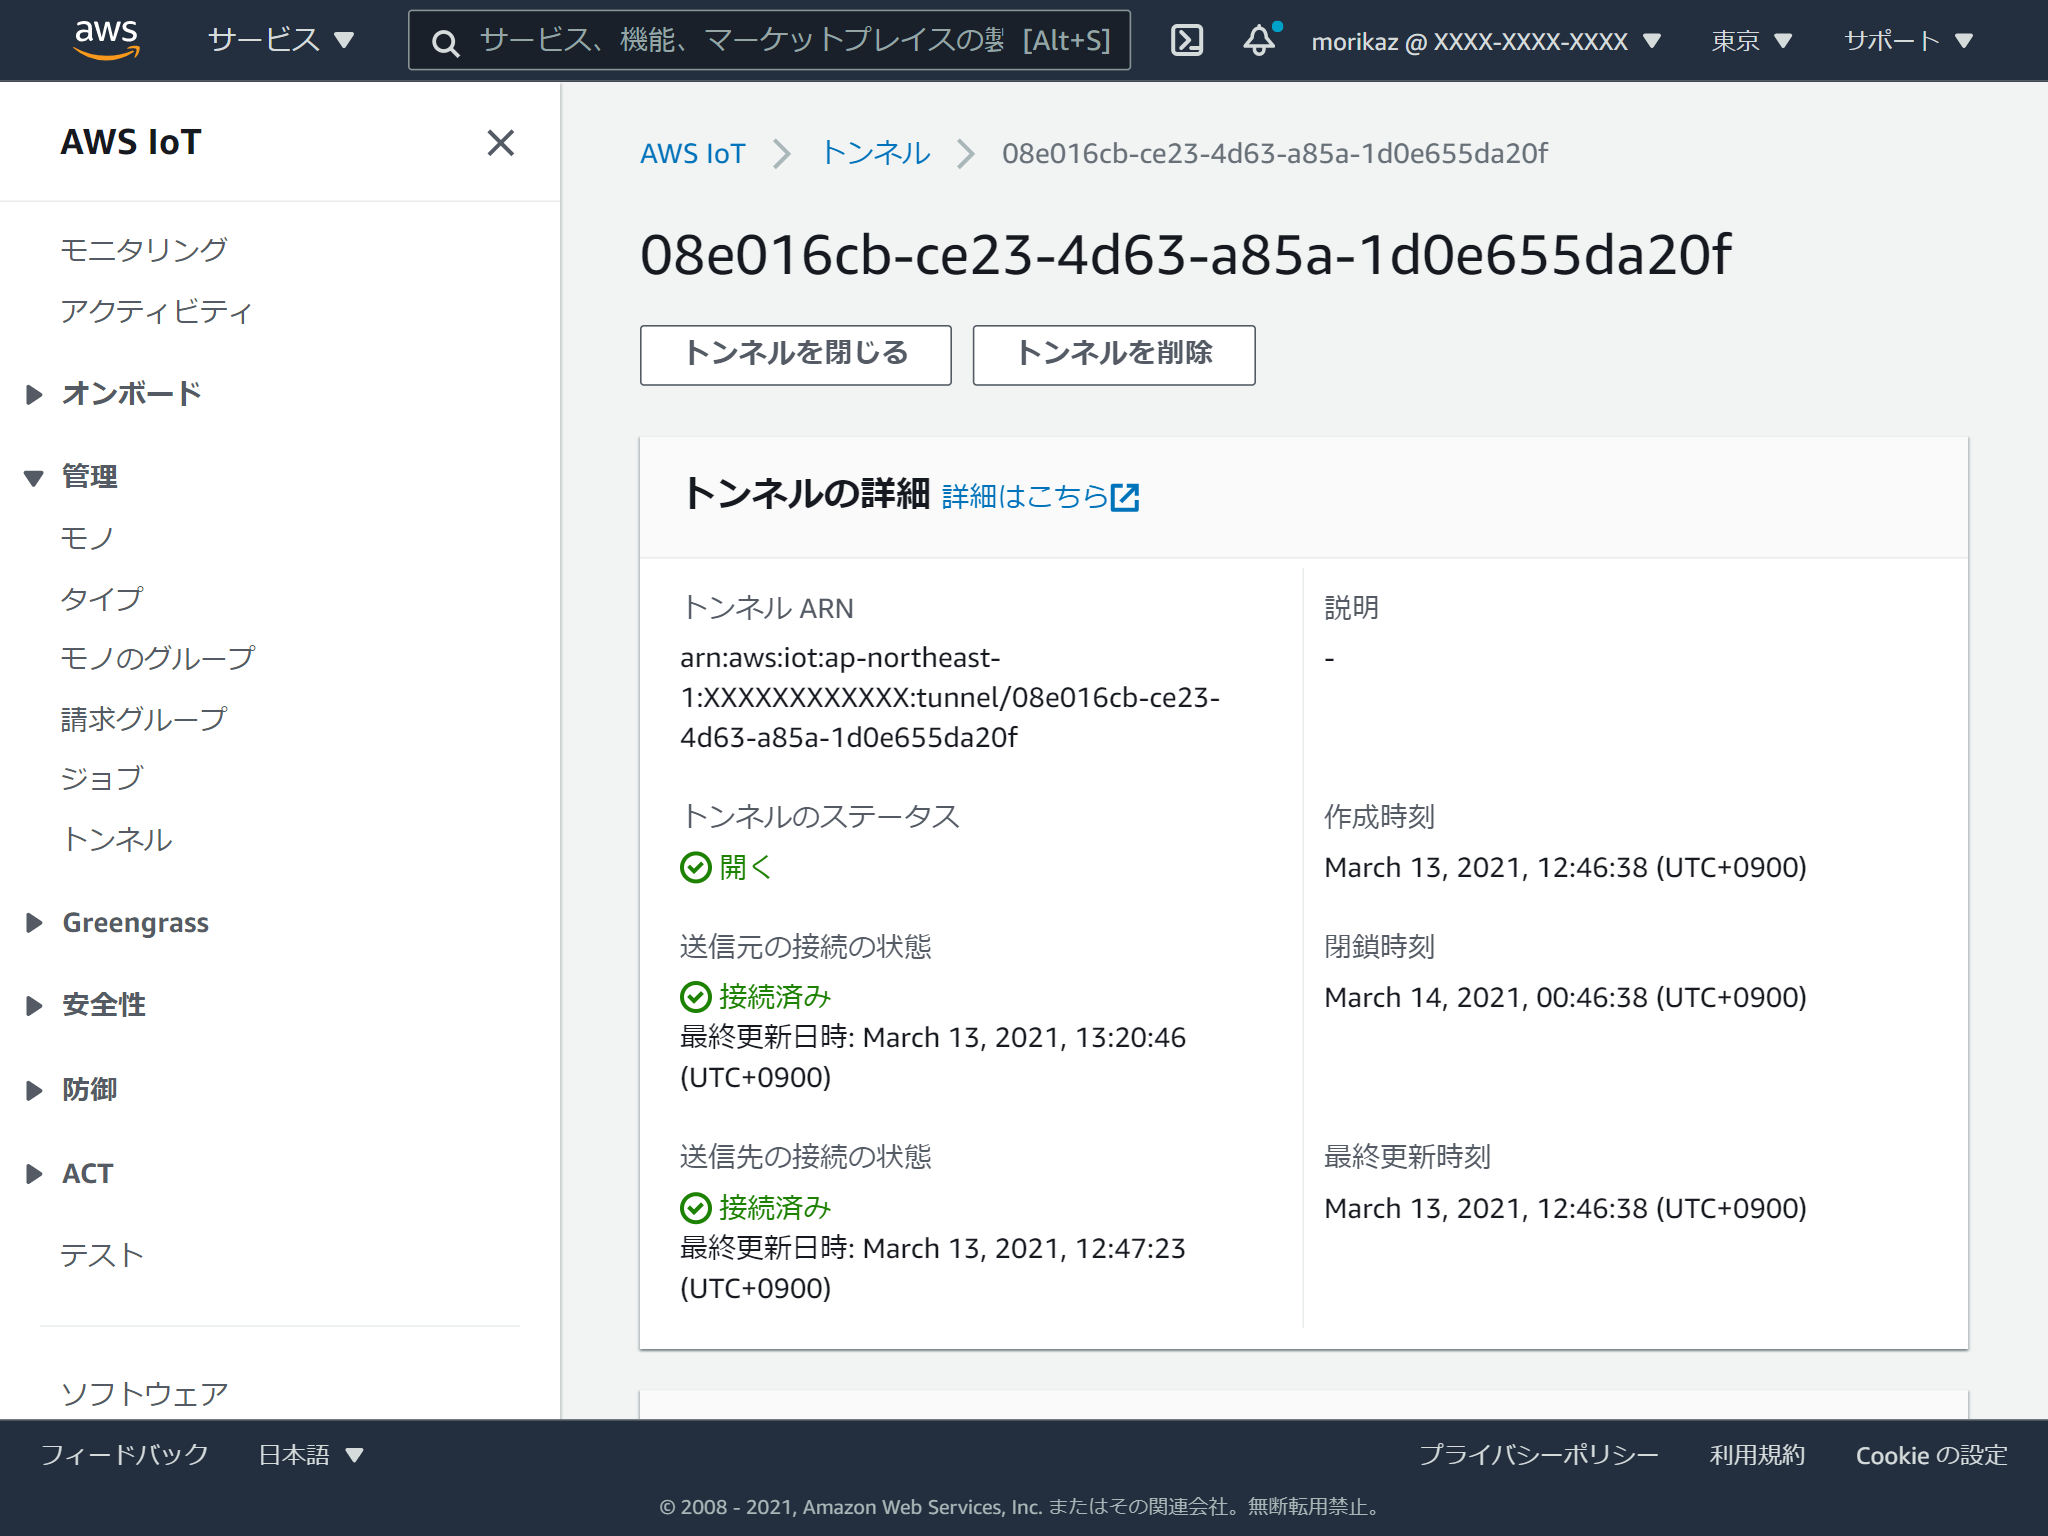
ここまでうまくいっていれば、マネジメントコンソール上でも接続元と接続先が「接続済み」の表示となります。
リモート接続
SSHの接続先をlocalproxy(localhost)宛にすると、Raspberry Piまで中継されて、Raspberry PiにSSH接続ができます。
root@fecabcfd8bba:/home/aws-iot-securetunneling-localproxy# ssh pi@localhost -p 5555
[2021-03-13T04:26:29.145928]{12}[info]    Accepted tcp connection on port 5555 from 127.0.0.1:46518
The authenticity of host '[localhost]:5555 ([127.0.0.1]:5555)' can't be established.
ECDSA key fingerprint is SHA256:xxxxxxxxxxxxxxxxxxxxxxxxxxxxxxxxxxxxxxxxxxx.
Are you sure you want to continue connecting (yes/no)? yes
Warning: Permanently added '[localhost]:5555' (ECDSA) to the list of known hosts.
pi@localhost's password:
Linux raspberrypi 5.4.83-v7l+ #1379 SMP Mon Dec 14 13:11:54 GMT 2020 armv7l

The programs included with the Debian GNU/Linux system are free software;
the exact distribution terms for each program are described in the
individual files in /usr/share/doc/*/copyright.

Debian GNU/Linux comes with ABSOLUTELY NO WARRANTY, to the extent
permitted by applicable law.
Last login: Sat Mar 13 04:05:24 2021 from 127.0.0.1

SSH is enabled and the default password for the 'pi' user has not been changed.
This is a security risk - please login as the 'pi' user and type 'passwd' to set a new password.

pi@raspberrypi:~ $ uname -a
Linux raspberrypi 5.4.83-v7l+ #1379 SMP Mon Dec 14 13:11:54 GMT 2020 armv7l GNU/Linux
pi@raspberrypi:~ $
すごく回りくどい感じですが、Windows上のDockerコンテナ内から、AWS IoT Coreを経由して、Greengrassが動作しているRaspberry PiにSSHをしています。
内部ではAWS IoT Device Clientというものを使っているようです。セキュアトンネル以外にも便利なもののようなので、またの機会に調査したいと思います。
https://github.com/awslabs/aws-iot-device-client
リモート接続(コンテナ外からアクセスしたい場合)
Dockerの内部からではなく、WindowsからSSHしたい場合は、ローカルプロキシを以下のように起動すればOKです。
Dockerのパラメーターに-p 5555:5555を、localproxyのパラメーターに-b 0.0.0.0を追加しています。
docker run --name localproxy --rm -p 5555:5555 aws-iot-securetunneling-localproxy:latest ./localproxy -r ap-northeast-1 -s 5555 -b 0.0.0.0 -t [先程入手したsourceAccessToken.txtの内容]価格
2021/3/13現在、東京リージョンでの価格は、開いたトンネル(開いたトンネル 1 つにつき)あたり6.00USDです。
** トンネルの最大継続時間:12 時間
** 最大トンネルスループット:100 KBps(800kbps)
https://aws.amazon.com/jp/iot-device-management/pricing/
参考サイト
https://docs.aws.amazon.com/greengrass/v2/developerguide/secure-tunneling-component.html https://docs.aws.amazon.com/ja_jp/iot/latest/developerguide/secure-tunneling-tutorial.html https://docs.aws.amazon.com/ja_jp/iot/latest/developerguide/agent-snippet.html https://github.com/aws-samples/aws-iot-securetunneling-localproxy https://github.com/awslabs/aws-iot-device-client